Hugelkultur Mounds: Bury Wood to Feed Soil for Decades
The Forest Secret Your Grandparents Knew — and Modern Gardening Forgot
Walk through any old-growth forest and notice something remarkable. No one fertilizes it. No one waters it. Yet the soil is dark, spongy, and bursting with life. Hugelkultur mounds are how you bring that same underground magic into your own backyard. This ancient Germanic forest gardening technique buries logs and branches beneath your growing beds — and lets decomposition do the heavy lifting for the next two decades.
If you’re tired of hauling water, buying bags of fertilizer, and watching your soil compact year after year, keep reading. This might be the most liberating garden method you’ll ever try.
What Are Hugelkultur Mounds?
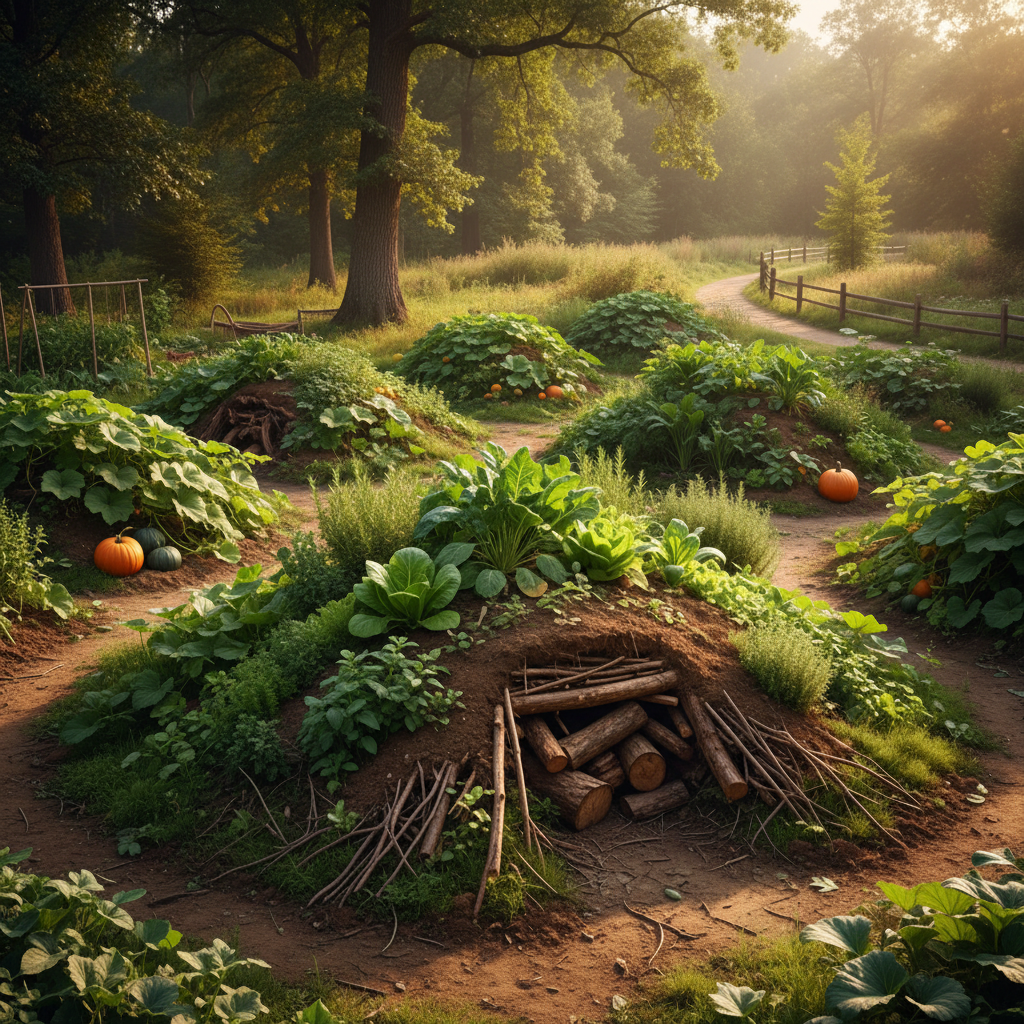
The word hugelkultur comes from German, meaning “mound culture” or “hill culture.” The concept is elegantly simple. You pile up logs, branches, sticks, leaves, and organic matter. Then you cover everything with soil and compost. The buried wood slowly decomposes over years — sometimes decades — releasing nutrients, retaining moisture, and feeding an entire underground ecosystem.
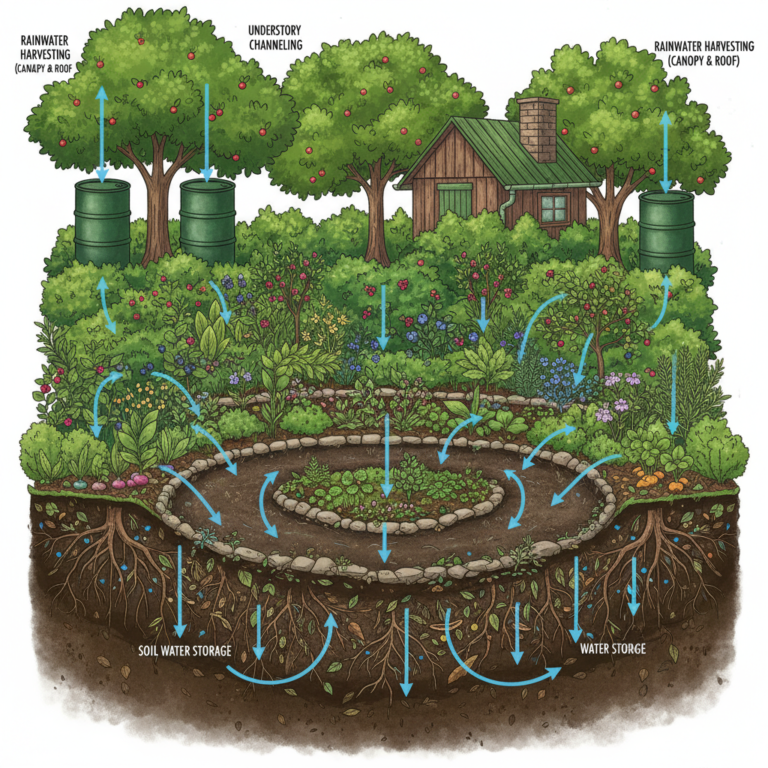
Think of it as building a slow-release sponge beneath your plants. As the wood breaks down, it absorbs water like a reservoir. That moisture then wicks upward to plant roots during dry spells. Some gardeners report reducing their watering needs by up to 80% once a hugelkultur bed fully establishes.
This isn’t a fringe idea invented on the internet. Austrian permaculture pioneer Sepp Holzer popularized it for modern audiences, but the technique traces back centuries to Germanic and Eastern European farming communities who watched forests regenerate themselves and asked: what if we did that on purpose?
Why Buried Wood Works So Well
The science behind hugelkultur mounds is rooted in how forests naturally build fertility. When a tree falls in a forest, it doesn’t go to waste. Fungi thread through it. Insects tunnel into it. Bacteria colonize every crack. Together, they slowly convert solid wood into the richest, darkest soil imaginable.
Your buried logs do the same thing inside your garden bed. Here’s what’s happening underground:
- Fungal networks colonize the wood and extend their reach to plant roots, sharing water and nutrients.
- Decomposing wood generates gentle heat, extending your growing season in cooler climates.
- Air pockets between logs create excellent drainage and root-friendly structure.
- Carbon-rich wood feeds soil microbes, which in turn make nutrients available to your plants.
The result is a living, breathing growing bed that gets better every year — not worse. If you’re curious about reading your existing soil before you build, check out Soil Sense Without the Lab: Read Your Dirt, Fix It Fast for a simple hands-on diagnostic approach.
How to Build a Hugelkultur Mound Step by Step
You don’t need fancy tools or a big budget. You need wood, time, and a bit of elbow grease. Here’s how to build your first mound from the ground up.
Step 1: Choose Your Location
Pick a sunny spot with decent drainage. A gentle slope is fine — actually ideal, since the mound shape naturally sheds excess water while holding moisture inside. Avoid low-lying areas that flood. If you want to think strategically about sun patterns and microclimates on your property, Mapping Your Garden Microclimates is a fantastic resource to pair with this project.
Step 2: Gather Your Wood
Use logs, branches, stumps, or fallen limbs. Rotting wood that’s already beginning to decay is actually better — it’s already inoculated with beneficial fungi. Avoid wood from black walnut, eucalyptus, or cedar, as these contain compounds that can inhibit plant growth.
Good wood choices include:
- Apple, pear, or other fruit wood (bonus: slight nutrient profile)
- Oak, maple, birch
- Alder (excellent nitrogen source as it decomposes)
- Any hardwood scraps from tree trimming
Step 3: Build Your Layers
Start with your largest logs on the bottom. Stack progressively smaller branches and twigs on top, filling gaps as you go. Aim for a mound height of 3–6 feet. It will settle significantly over the first year — sometimes dropping by half — so build taller than you think you need.
Next, add:
- A layer of nitrogen-rich green material — fresh grass clippings, kitchen scraps, fresh leaves, or manure. This kickstarts decomposition.
- A layer of topsoil — at least 6 inches deep for planting.
- A top dressing of compost — this is where your plants will germinate and root initially.
Step 4: Plant and Mulch
Water the mound thoroughly after building. Then plant or seed directly into the compost-rich top layer. Mulch generously to retain moisture while the bed establishes. For your first season, you may need to water a bit more than usual — the wood hasn’t fully become the moisture sponge it will be in years two and three.
This is a perfect opportunity to experiment with small-scale garden trials — test different crops on the same mound and see what thrives.
What to Grow on Hugelkultur Mounds
Hugelkultur mounds support an impressive range of crops. The raised, well-drained profile suits many vegetables, herbs, and even small fruit trees.
Excellent choices include:
- Zucchini and squash (love the deep moisture and warmth)
- Beans and peas (add nitrogen back as they grow)
- Tomatoes and peppers (benefit from the steady moisture release)
- Herbs like comfrey, yarrow, and mint (support the mound ecosystem)
- Berry bushes and dwarf fruit trees on larger mounds
If you’re building toward a full food forest system, hugelkultur mounds integrate beautifully into edible landscape design. You might also enjoy exploring Microforest in Small Spaces for ideas on layering plants above your mounds for maximum biodiversity and yield.
When it comes to sourcing seeds for your new beds, look for heirloom and non-GMO seeds and growing supplies that match the natural, chemical-free spirit of this method.
The Long Game: What Happens Over Time
This is where hugelkultur truly separates itself from every other garden bed method. The benefits don’t peak in year one. They build.
Year 1–2: The wood is still solid but beginning to break down. Fungal threads begin forming. Water retention is modest. Nutrients are starting to release.
Year 3–5: The mound settles significantly. Moisture retention increases dramatically. Soil fertility visibly improves. Fewer inputs needed.
Year 5–10: The mound is now a self-sustaining fertility engine. The wood has transformed into rich, spongy humus. Watering needs drop dramatically — up to 80% less in established mounds.
Year 10–20+: You’re harvesting the rewards of a decision you made two decades ago. The soil beneath and within the mound is some of the richest you’ll ever grow in.
This is the opposite of the extractive model most modern gardeners follow. Instead of depleting your soil every season, you’re building it every single year.
Common Mistakes to Avoid
A few missteps can slow down your results. Here’s what to watch for:
- Using fresh, green wood exclusively: It works, but takes longer. Mix in some already-rotting wood for faster microbial activity.
- Skipping the nitrogen layer: Without green material between the wood and soil, decomposition is sluggish. Don’t skip this step.
- Building too small: A mound under two feet tall won’t retain enough moisture to see the real benefits. Go taller and wider if you can.
- Planting too soon after building: Let fresh mounds settle for 2–4 weeks before planting, or use transplants rather than direct seeds initially.
A Forgotten Technique Worth Reviving
There’s something deeply satisfying about a garden method that works with nature instead of fighting it. Hugelkultur mounds ask you to slow down, think in decades, and trust the same decomposition processes that built the world’s great forests — long before anyone invented synthetic fertilizer.
Your grandparents may not have used the German word for it. But the instinct to stack wood, cover it with earth, and let the soil do the work? That’s as old as farming itself. It’s just been waiting for you to rediscover it.
If you’re ready to take your natural growing methods further, The Perennial Playbook is a perfect next step — pairing perennial plants with low-input systems like hugelkultur for a garden that truly takes care of itself.
Start with one small mound this season. Pile up some logs. Cover them with earth. Plant something beautiful on top. Then step back and let a few decades of forest wisdom go to work beneath your feet.