Mapping Your Garden Microclimates: Turn Sun, Wind, and Shade into Higher Yields
Mapping Your Garden Microclimates: A Practical Start-to-Finish Guide for Higher Yields
Every garden contains microclimates—zones where sun, wind, shade, moisture, and drainage create distinct growing conditions. By mapping these microclimates, you can place crops where they perform best, conserve water, and increase yields. This guide walks beginners and seasoned gardeners through a low-tech, repeatable process to chart your microclimates and translate the insights into smarter bed design and seasonal action.
What are garden microclimates and why mapping them boosts yields
Sun exposure, wind patterns, shade, moisture, and drainage
Sun and shade determine how much light and heat plants receive. Wind can dry leaves or shift pest pressures. Moisture and drainage shape root zones and disease risk. By noting where sun hits beds at different times of day and during different seasons—and where cool air settles or water pools—you gain a practical forecast of which crops belong in which spots.
Quick-start: low-tech methods to map your garden
Simple sun and shade tests, wind observations, and seasonal notes
Start with a basic walk-through: record which areas get full sun (roughly six or more hours), partial sun, and shade at morning, midday, and late afternoon. Observe prevailing winds and where windbreaks or open edges matter. Keep seasonal notes to capture how microclimates shift from spring through fall.
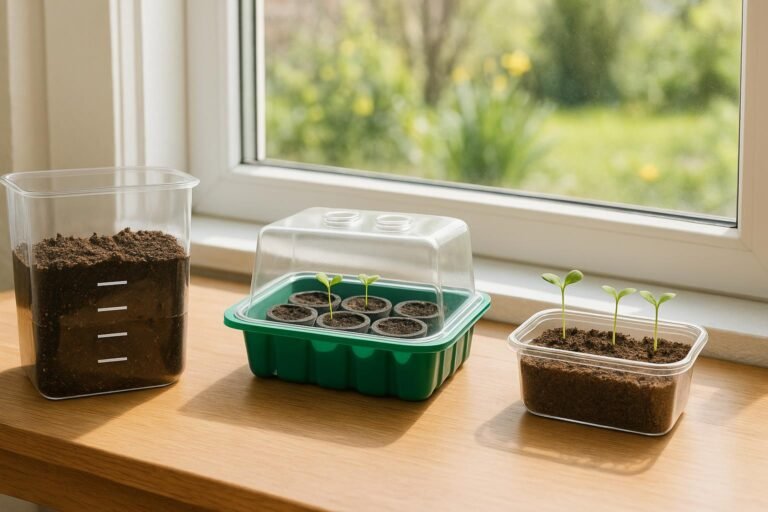
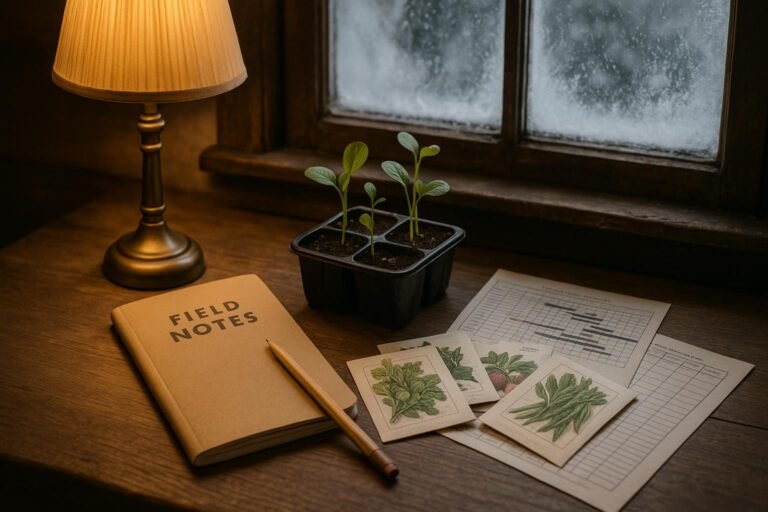
Basic tools you can use
- Notebook or garden journal
- Measuring tape
- Soil and air thermometer
- Compass or phone compass app
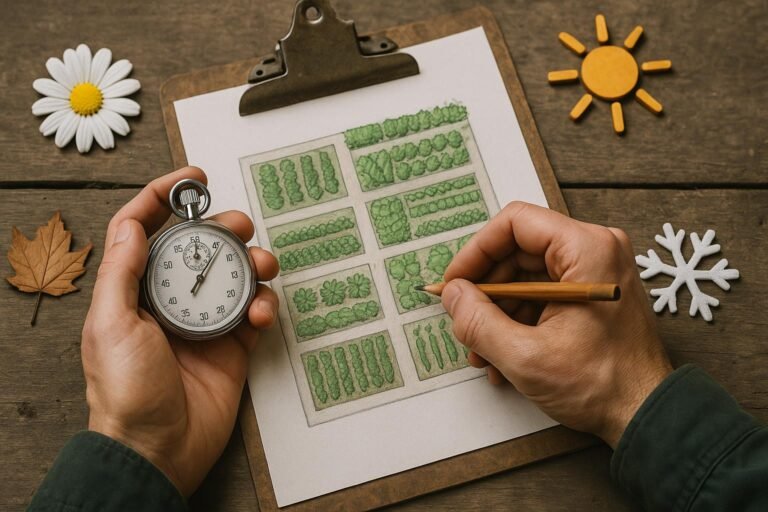
The step-by-step process to create your microclimate map
Define your garden zones and boundaries
Draw a simple map of your space. Mark hard boundaries (fences, walls) and natural features. Create zones based on sun exposure, shade pockets, and wind corridors, not just bed lines.
Track sun and shade over time and identify microclimate patterns
Record sun and shade at multiple times during the growing season and across several days. Look for recurring patterns such as warm southern slopes, shaded corners behind structures, or cool, moist edges near walls. These patterns become your microclimate map.
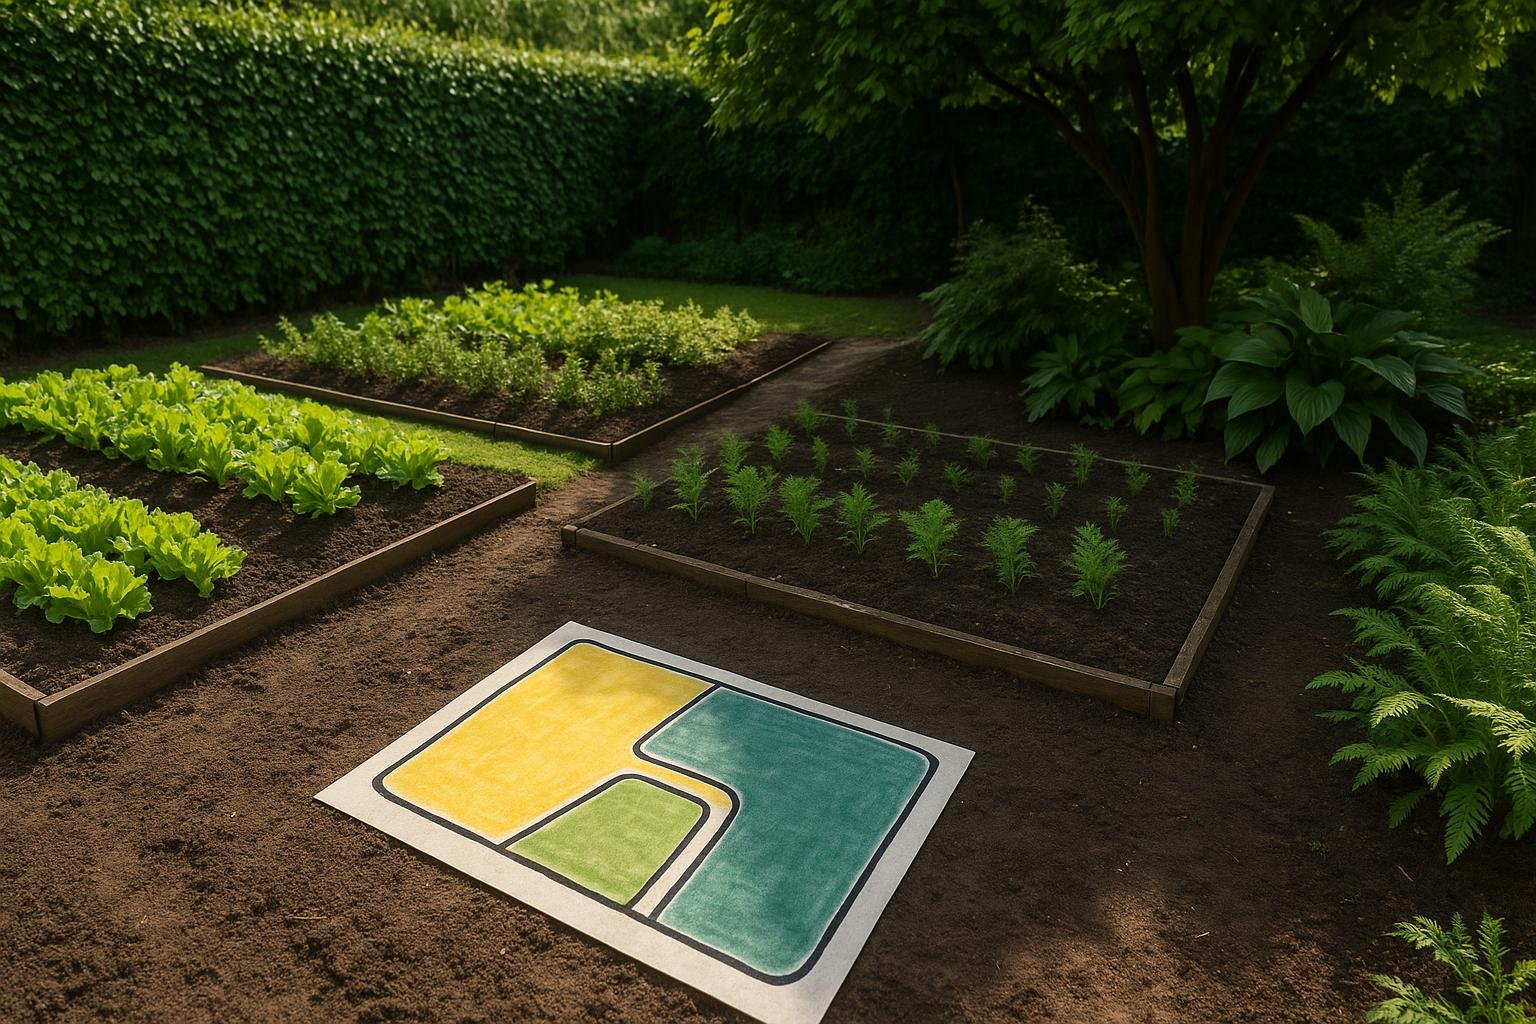
Build a color-coded map and annotate microclimate factors
Apply a simple color scheme to visualize zones on your map. For example, yellow for full sun, light yellow for partial sun, and blue for shade. Add notes for wind exposure, drainage, and soil type. The goal is a visual reference you can use when placing crops and planning beds.
Turning maps into higher yields: plant placement and bed design
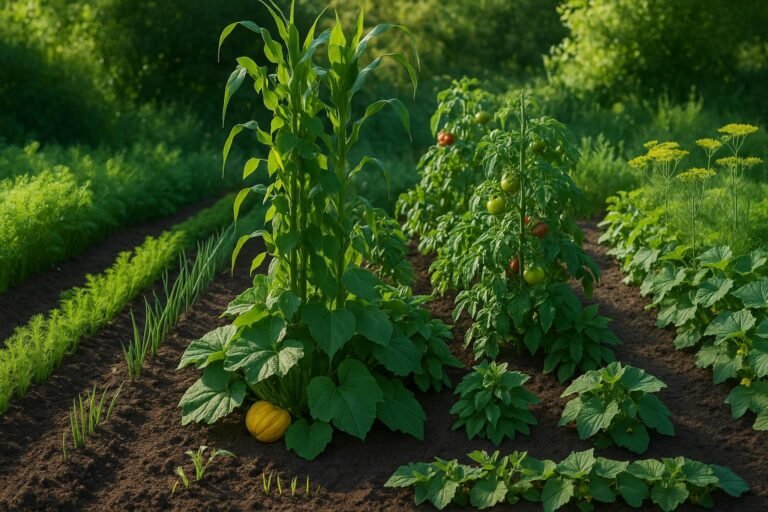
Matching crops to sun, shade, and wind
Place sun-loving crops in full sun (tomatoes, peppers, squash), leafy greens in partial shade, and root crops in well-drained, sheltered spots. Position wind-sensitive crops behind hedges or in sheltered zones. Align trellises and irrigation with microclimate patterns to optimize performance.
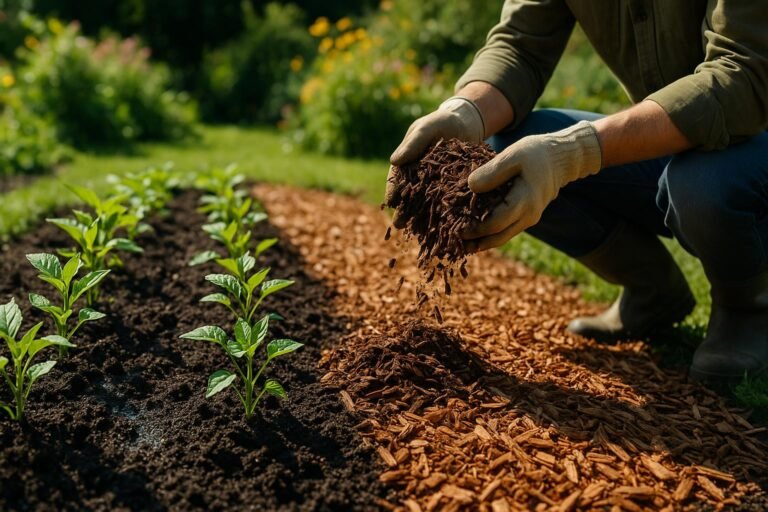
Designing beds, paths, windbreaks, and irrigation by zone
Orient beds to maximize sun for each zone, keep paths wide enough for easy access, and install windbreaks along exposed edges. Tailor irrigation schedules by zone to reduce runoff and water waste, and consider mulch to stabilize soil temperatures.
Seasonal planning and maintenance
Spring: map refresh, planning, and crop selection
Refresh your map as days lengthen. Select crops that align with each microclimate, starting with hardy varieties in sheltered areas and testing new crops in sunnier beds.
Summer: adjust irrigation and succession planting by microclimate
Monitor soil moisture by zone and adjust irrigation accordingly. Use succession planting to maintain steady harvests and adapt to shifting heat and dryness.
Fall: evaluate performance and prepare for next year
Review which crops thrived where and which areas underperformed. Document lessons, adjust windbreaks, and plan rotations to protect soil health for the next growing season.
Quick-start checklist for new gardeners
- Walk the garden and note sun, shade, and wind at key times
- Log observations on a color-coded map
- Identify microclimate zones and annotate drainage and soil type
- Match crops to each zone and plan bed layouts and windbreaks
- Set a seasonal irrigation plan per zone
- Keep short seasonal notes for next year’s map