Build a Cold Frame: DIY Guide with Recycled Materials
Ready to extend your growing season without breaking the bank? Building a cold frame with recycled materials is one of the smartest investments you can make in your garden. This simple structure acts like a mini-greenhouse, protecting your plants from harsh weather while capturing precious winter sunlight.
A cold frame opens up incredible possibilities for year-round gardening. You’ll harvest fresh greens in December, start seedlings earlier in spring, and keep herbs thriving through frost. Best of all, you can build one using materials you probably already have lying around.
Why Every Gardener Needs a Cold Frame
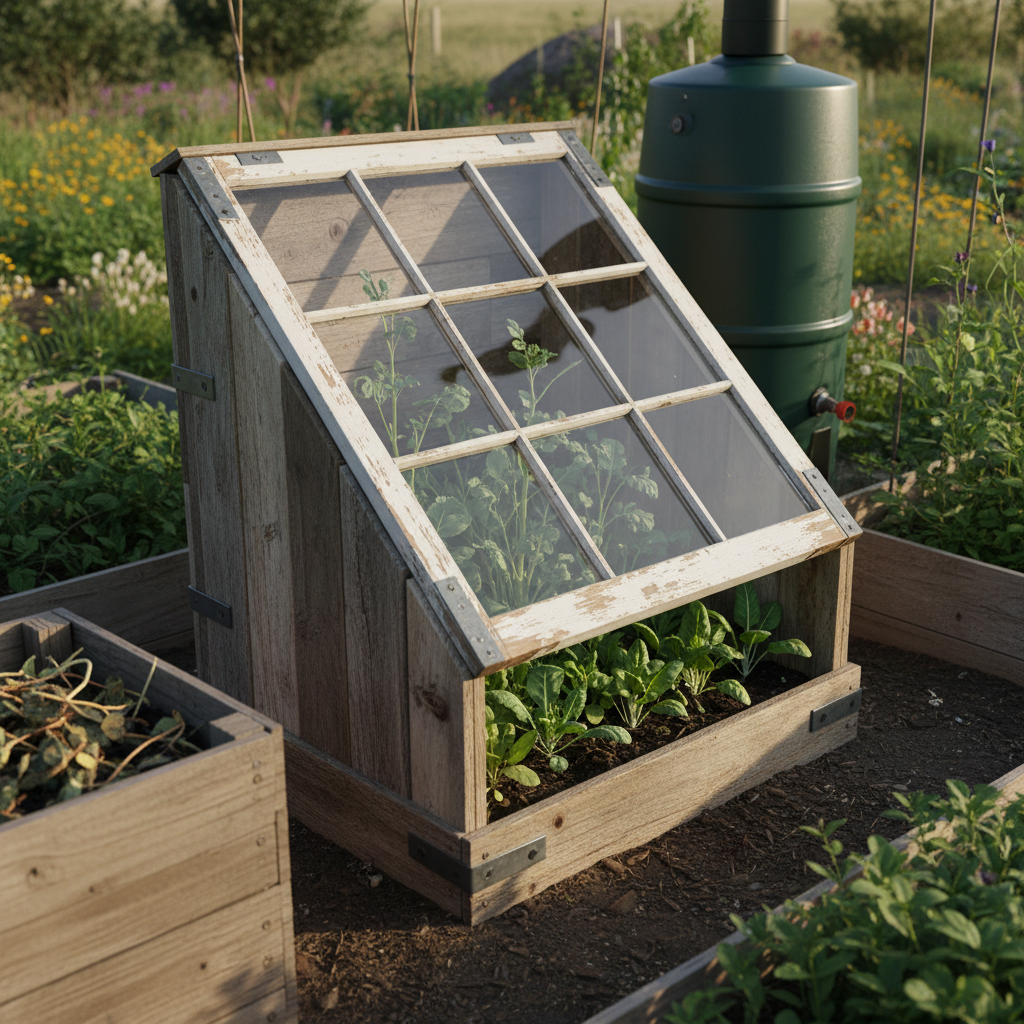
Think of a cold frame as your garden’s insurance policy against unpredictable weather. This angled box with a transparent lid creates a protective microclimate that’s typically 5-10 degrees warmer than outside temperatures.
The benefits go far beyond temperature protection:
- Extend harvest season by 6-8 weeks
- Start seeds 4-6 weeks earlier than direct sowing
- Protect tender plants from wind and precipitation
- Harden off seedlings gradually before transplanting
- Store root vegetables through winter
Moreover, cold frames require zero electricity or ongoing costs. Once built, they work entirely through passive solar energy and smart design.
Essential Materials for Your Cold Frame Project
The beauty of this project lies in using recycled materials. Here’s what you’ll need to gather:
Primary Structure Materials
- Old windows or glass doors (1-4 pieces depending on size)
- Scrap lumber: 2×8 or 2×10 boards work best
- Exterior wood screws (2.5-3 inches)
- Hinges for lid attachment
- Weather stripping for seal
Optional Upgrades
- Hardware cloth for pest protection
- Automatic vent opener for temperature control
- Reflective material for interior walls
- Thermometer for monitoring
Don’t worry if your materials aren’t perfect. Slight warping or minor cracks won’t affect performance significantly.
Step-by-Step Cold Frame Construction
Building your cold frame is surprisingly straightforward. Let’s break it down into manageable steps.
Step 1: Plan Your Design
First, measure your available windows. Standard storm windows work perfectly and are often available free from home improvement stores’ discard piles.
Plan for a sloped design with the back wall 12-16 inches high and the front wall 8-10 inches high. This angle maximizes sun exposure while shedding rain effectively.
Step 2: Cut Your Frame Pieces
Using your measurements, cut four pieces of lumber:
- Back wall: Cut to window width
- Front wall: Cut to window width, shorter height
- Two side walls: Cut with angled tops to connect front and back
Sand rough edges to prevent splinters during assembly.
Step 3: Assemble the Frame
Connect your pieces using exterior wood screws. Pre-drill holes to prevent splitting. The frame should feel solid but don’t worry about perfection – functionality matters more than appearance.
Test-fit your window lid before final assembly. It should sit flush with minimal gaps.
Step 4: Attach the Lid
Mount hinges along the back edge of your frame. Position them so the window opens away from prevailing winds in your area.
Add weather stripping around the frame perimeter for better insulation. This small detail makes a significant difference in temperature retention.
Strategic Placement for Maximum Cold Frame Effectiveness
Location determines your cold frame’s success more than any other factor. Choose wisely, and you’ll maximize both growing potential and convenience.
Sun Exposure Requirements
Position your cold frame facing south or southeast for optimal light capture. Your plants need at least 6 hours of direct sunlight daily, even in winter.
Avoid spots that receive afternoon shade from buildings, fences, or evergreen trees. Morning sun is especially crucial for warming the interior quickly after cold nights.
Wind Protection Strategies
Shield your cold frame from harsh winter winds without blocking sunlight. Consider these placement options:
- Against a south-facing building wall
- Behind a low hedge or fence
- In a naturally sheltered garden corner
However, avoid completely enclosed areas where air circulation is poor. Some gentle air movement prevents fungal problems.
Drainage Considerations
Never place your cold frame in low-lying areas where water pools. Soggy soil leads to root rot and plant death.
If your yard has drainage issues, build a raised foundation using gravel or place your cold frame on slightly elevated ground.
What to Grow in Your Cold Frame
Your new structure opens doors to year-round gardening adventures. Different plants thrive in cold frames depending on the season and your climate zone.
Winter Hardy Vegetables
These crops actually improve in flavor after experiencing light frost:
- Spinach and other leafy greens
- Kale and Brussels sprouts
- Carrots and turnips
- Lettuce varieties
- Asian greens like bok choy
Spring Seed Starting
Get a head start on warm-season crops by starting seeds in your cold frame 4-6 weeks before your last frost date. Tomatoes, peppers, and herbs benefit enormously from this protected environment.
For more detailed guidance on timing and plant selection, check out our comprehensive microclimate-aware planting plan that helps you maximize your growing season.
Cold Frame Maintenance and Seasonal Care
Proper maintenance keeps your cold frame functioning efficiently for years. Fortunately, the required tasks are simple and infrequent.
Daily Monitoring
Check interior temperatures regularly, especially during sunny days. Temperatures above 75°F can stress or kill plants.
Prop open the lid for ventilation when needed. Automatic vent openers make this task effortless and prevent overheating when you’re away.
Seasonal Tasks
Before each growing season, inspect your structure for damage. Tighten loose screws, replace worn weather stripping, and clean glass surfaces for maximum light transmission.
Apply exterior wood stain every 2-3 years to protect against weather damage. Choose natural, non-toxic products to keep your growing environment safe.
Understanding your soil conditions will help you make the most of your cold frame gardening. Our guide to reading and fixing your soil provides valuable insights for optimizing plant health.
Troubleshooting Common Cold Frame Problems
Even well-built structures occasionally present challenges. Here’s how to address the most common issues:
Temperature Fluctuations
If your cold frame experiences wild temperature swings, add thermal mass using water jugs or stones. These materials absorb heat during the day and release it slowly at night.
Condensation Issues
Excessive moisture indicates poor ventilation. Crack the lid slightly on warmer days, even in winter. Good air circulation prevents fungal diseases and strengthens plants.
Pest Problems
Hardware cloth screens protect against rodents while maintaining airflow. Secure all edges carefully – mice can squeeze through surprisingly small gaps.
Building garden skills progressively helps you troubleshoot problems more effectively. Consider following our 8-week skill-building plan to develop confidence in all aspects of gardening.
Advanced Cold Frame Modifications
Once you’ve mastered basic cold frame gardening, consider these upgrades to enhance functionality:
- Double-wall construction for extreme climates
- Removable floor panels for root crops
- Multiple lid sections for partial ventilation
- Integrated water collection system
These modifications transform a simple cold frame into a sophisticated growing system that rivals expensive commercial alternatives.
Start Building Your Cold Frame Today
Creating a cold frame with recycled materials represents sustainable gardening at its finest. You’re extending growing seasons, reducing waste, and building valuable skills simultaneously.
Start gathering materials this week. Check local sources like construction sites, garage sales, and community bulletin boards for free windows and lumber. Many contractors are happy to donate materials destined for the dumpster.
Remember, your first cold frame doesn’t need to be perfect. Focus on functionality over appearance. As your skills develop, you can always build additional structures or upgrade existing ones.
The investment of time and minimal money pays dividends for years. Fresh vegetables in January, early spring seedlings, and extended fall harvests await. Your garden – and your dinner table – will thank you.