Climate-Proof Your Crops: A 30-Day, Microclimate–Aware Planting Plan
Understanding microclimates in your garden
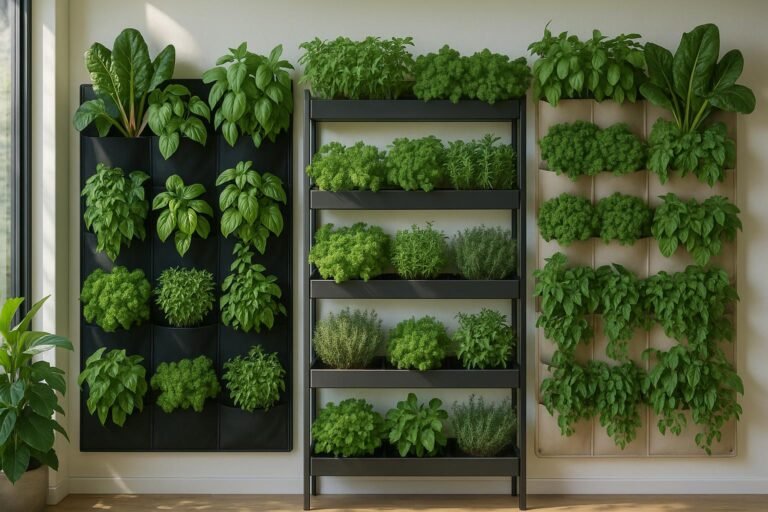
Spring brings a mix of sun, wind, and unpredictable temperatures. A microclimate is the small scale variation in climate within your garden — warm pockets beside a sunlit wall, cool pockets in a shaded corner, or breezy spots along an exposed fence. Understanding these microclimate shifts helps you protect tender starts, select crops that tolerate local conditions, and keep growth steady as temperatures swing.
Working with microclimates is not about reinventing the garden; it is about mapping reality and planning accordingly. A practical microclimate–aware approach lets you germinate with confidence, reduce transplant shock, and harvest more reliably, even when spring weather bites back.
What is a garden microclimate and why it matters
A garden microclimate is a localized climate variation within your growing space. Small changes add up:
- Sunlight warmth near reflective surfaces that heat up early and retain heat longer
- Shaded areas that stay cooler and stay moist longer, delaying drying out
- Wind corridors that desiccate leaves or accelerate cooling at night
- Low spots where cold air settles and frost pockets form
By recognizing these patterns, you can align crop choices and protections with the actual conditions you will face, not just the forecast.
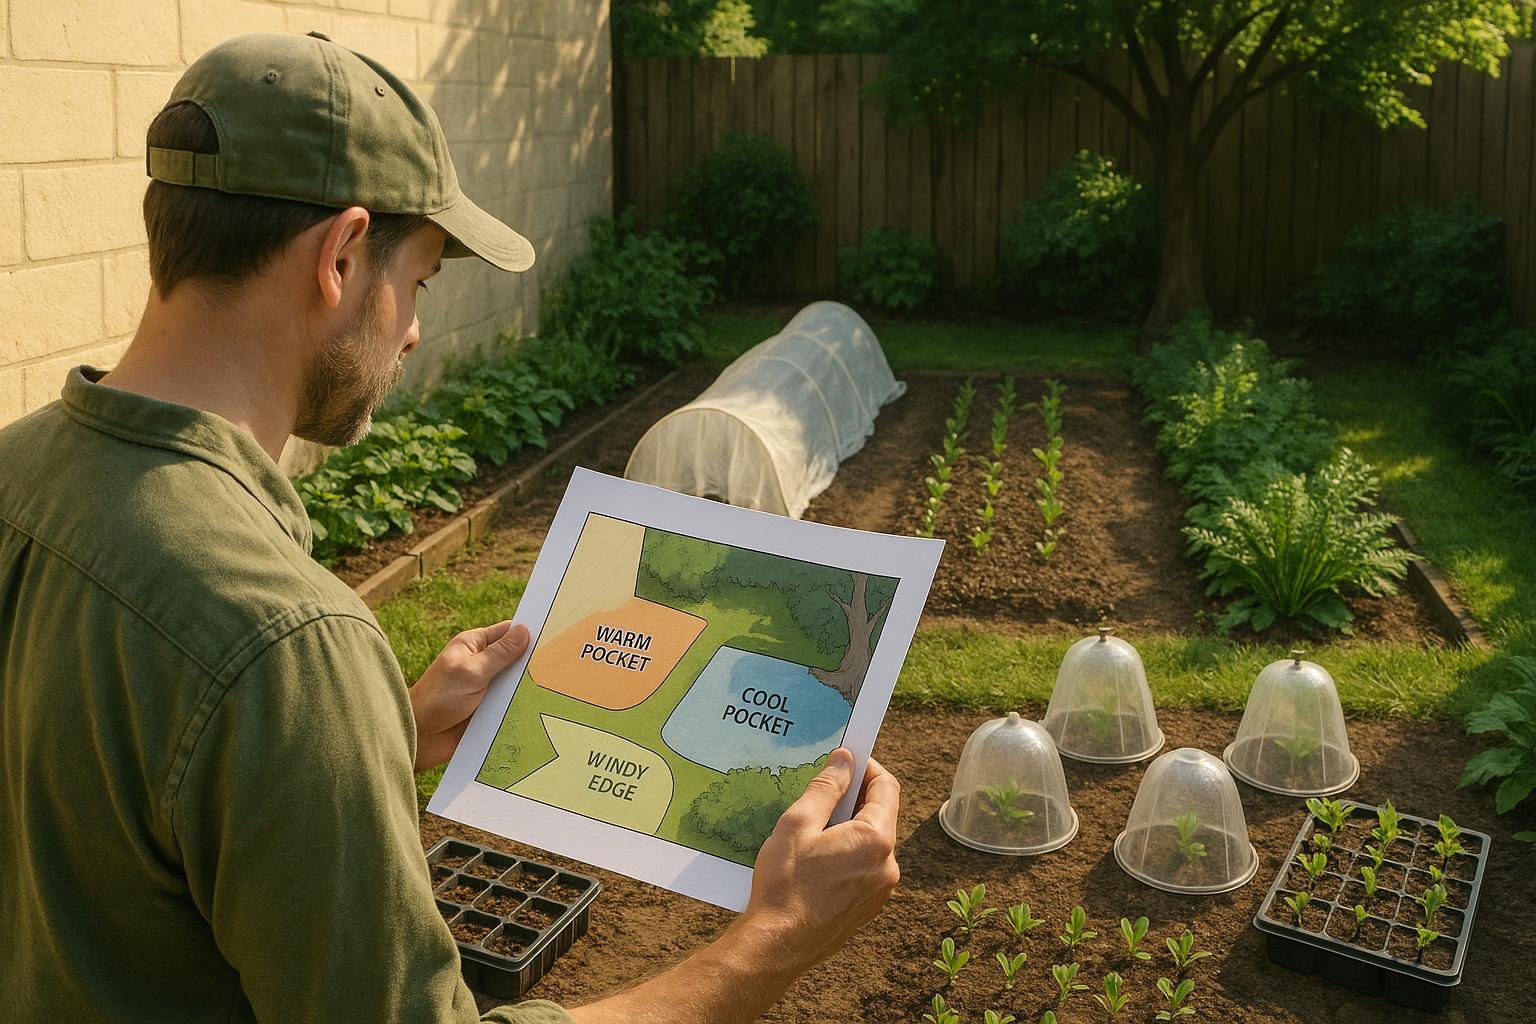
Mapping the microclimate pockets in your space
Start with a simple, repeatable process to identify pockets you can use, defend, or avoid. Here is a quick method:
- Mark key locations on a garden map: walls, beds, paths, trees, and fences
- Record daytime and nighttime temperatures for two weeks using a basic thermometer in each pocket
- Note sun exposure hours, wind direction, and typical soil moisture in each spot
- Label pockets as warm, cool, dry, moist, windy, shaded, or sheltered
- Keep the map updated as weather patterns shift with the season
Tip: start with a single warm pocket near a south facing wall and a cool pocket in a shaded corner. You will quickly see which spots are most reliable for tender crops and which require extra protection.
The 30-Day Microclimate–Aware Planting Plan
This plan breaks the work into four practical weeks, with simple templates and real world examples to suit gardeners from beginner to expert. The goal is better germination, steadier growth, and a more weather resilient harvest.
Week 1: Find and map your pockets
- Complete a quick microclimate survey of your space. Use the map you create to identify at least two warm pockets and two cool pockets.
- List crops that fit each pocket:
- Warm pockets: fast germinating greens such as lettuce and arugula, early radishes, and herbs like cilantro
- Cool pockets: spinach, peas, broccoli, and kale
- Decide on a baseline set of resilient crops and note where you will start them (indoors, protected outdoor modules, or direct sow in sheltered beds).
- Prepare simple protections you will use this month: row covers, cloches, cold frames, and mulch for moisture retention.
- Draft a transplant timing plan based on microclimate cues rather than age alone.
Week 2: Start resilient crops and test protections
- Begin seeds indoors for cool-season crops in the warm pockets, and direct-sow in sheltered spots for fast growers.
- Install temporary protections for the first cold nights: reinforced row covers, mini-greenhouses, or cloches.
- Track germination and emergence daily. If germination lags, adjust temperature or humidity with simple methods such as seed-start mats or humidity domes.
- Check soil readiness: moisture should be even, not soggy. If needed, amend with compost to support early root growth.
- Record observations on the microclimate map and adjust crop placement if a pocket performs unusually well or poorly.
Week 3: Transplant and strengthen protections
- Transplant hardy starts into their final microclimate spots. Place warm-pocket transplants in radiantly heated beds and cool-pocket transplants in shaded or protected beds.
- Reinforce protections overnight during forecasts of frost or chilly winds. Consider temporary windbreaks or double-layer covers for added warmth.
- Apply a shallow mulch around seedlings to stabilize soil temperature, conserve moisture, and suppress weeds.
- Introduce companion planting where appropriate to improve resilience (carrots with onions, beans with corn, etc.).
- Maintain a steady watering routine, focusing on consistent moisture in root zones rather than heavy wetting.
Week 4: Harden off, harvest readiness, and plan for variability
- Begin hardening off indoor starts before final transplant, gradually increasing outdoor exposure each day.
- Review the microclimate map to reallocate vulnerable crops to more favorable pockets if weather signals require it.
- Prepare for the first harvesting window: know which crops should be picked early for best flavor and texture under cooler temps.
- Update your microclimate planting plan with notes on what worked, what surprised you, and what you would change next season.
Templates you can use
- Weather-pocket map template: a grid that captures pocket name, sun exposure, wind, soil moisture, and day and night temperatures.
- Crop placement matrix: align crops to warm or cool pockets and note protection needs.
- Protection checklist: row covers, cold frames, cloches, mulch depth, and nighttime lows to guard against.
- 30-Day planting plan quick sheet: week-by-week actions, crop lists, and protection actions in a printable format.
Real-world examples
- Example A — Warm pocket near a south facing brick wall: heats quickly and retains warmth. Ideal for quick germinating greens like baby lettuce and arugula, and for starting radishes early. Use light row covers to extend growth when temperatures dip at night.
- Example B — Cool pocket in a shaded corner: Favor cool-season crops such as spinach, kale, and bush beans. Direct-sow where you can keep soil consistently moist, and protect with a breathable cover during late cold spells.
- Example C — Windy edge with dry air: Create a microclimate buffer with a low windbreak fence and a cloche system. This helps tender transplants establish roots without desiccation and supports steady growth through unpredictable spring winds.
Seasonal adjustments and next steps
As seasons shift, revisit your microclimate map, adjust crops and protections, and keep your 30-day plan as a living document. Track results, refine pocket choices, and plan ahead for the next cycle.
Tools, templates, and trackers
Keep these handy: weather-pocket map template, crop placement matrix, protection checklist, and a printable 30-day planting plan quick sheet.
Troubleshooting and FAQs
- Q: What if a pocket changes with a late cold snap? A: Move vulnerable transplants to a warmer pocket or add temporary covers and heat.
- Q: How do I transplant timing by microclimate? A: Use microclimate cues such as soil warmth, forecast lows, and wind protection rather than age alone.
- Q: What about drought or dry spells? A: Increase mulch, monitor soil moisture, and water deeply during cool parts of the day.