The 12-Week Garden Blueprint: A Progressive Path from Novice to Seasoned Pro
The 12-Week Garden Blueprint: Week-by-Week Milestones for Beginners to Pros
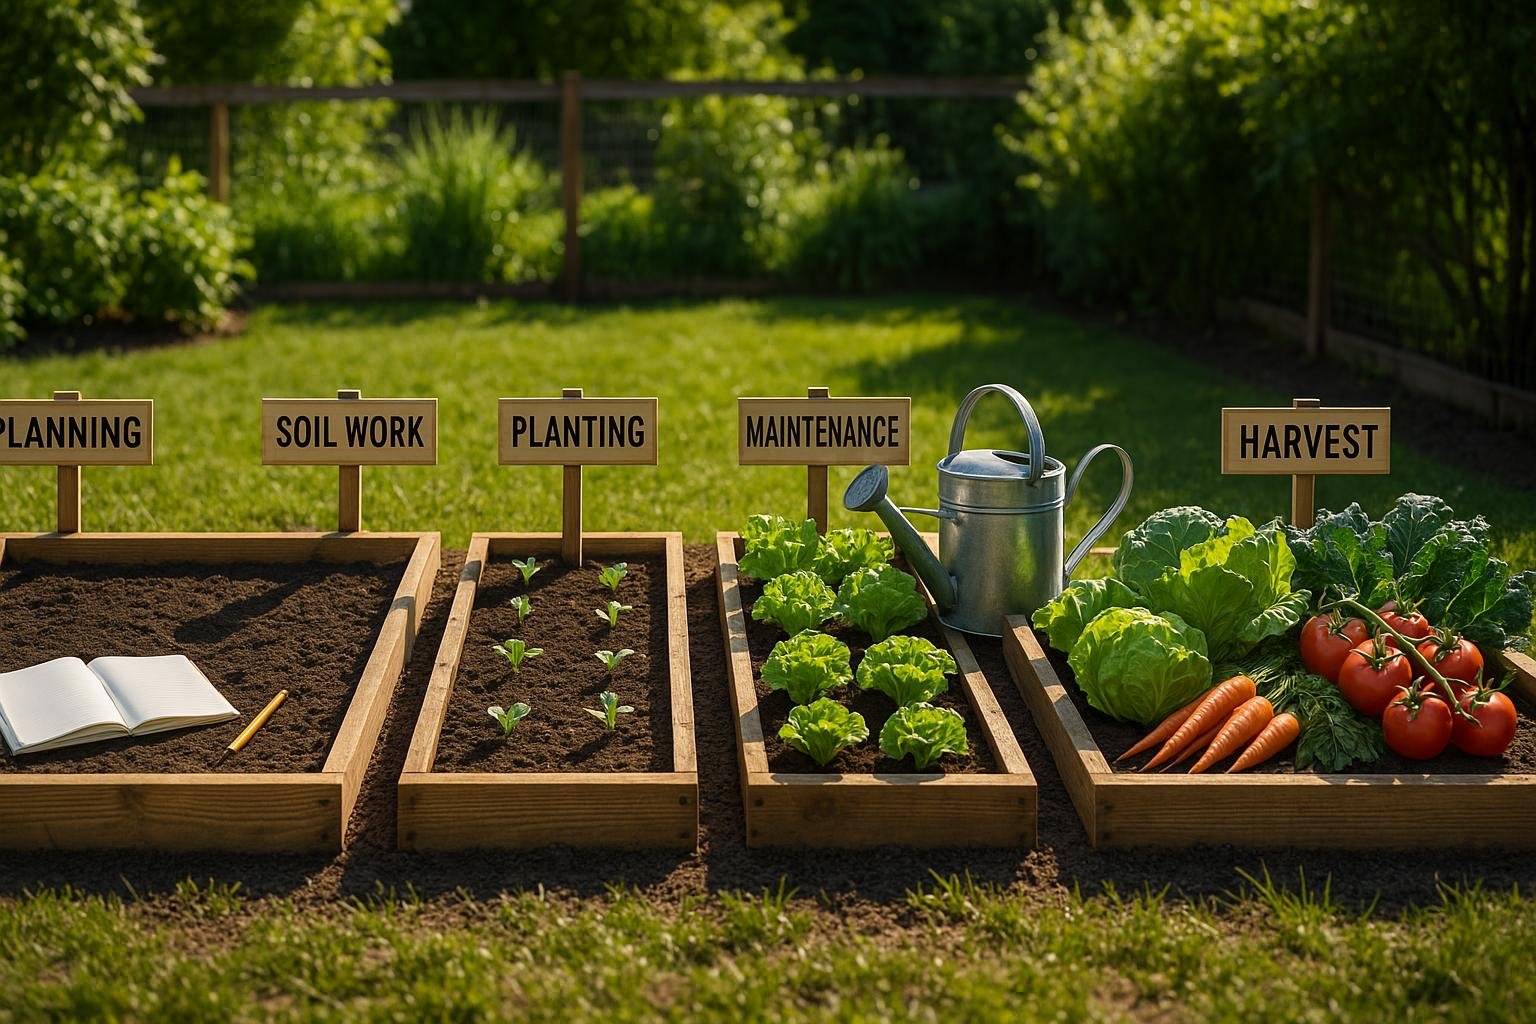
The 12-Week Garden Blueprint is a milestone-driven roadmap that grows with you from novice to seasoned gardener. It breaks the season into weekly tasks—covering planning, soil, seeds, planting, maintenance, pests, and harvest—with climate-smart adjustments, practical checklists, and actions to build lasting gardening skills and confidence.
The Week-by-Week Framework
Phase 1 (Weeks 1–3): Foundations — Planning, Soil, and Seeds
Week 1: Define goals, map your space, and select crops suited to your climate
- Define garden goals (food, flavor, or flowers).
- Measure and sketch your space; note sun exposure and microclimates.
- Choose 3–6 crops that fit your climate and space; create a simple sowing calendar.
Week 2: Build soil readiness with compost, mulch, and a simple soil test
- Incorporate compost to improve soil structure and fertility.
- Apply a 2–3 inch mulch layer to suppress weeds and conserve moisture.
- Run a basic soil test (pH, texture) and record results for amendments.
Week 3: Decide on starting seeds vs. purchasing transplants; create a sowing schedule
- Choose between starting seeds indoors or buying transplants.
- Develop a sowing and transplant timetable aligned with your frost dates.
- Set up a simple seed-starting workspace if you will start indoors.
Phase 2 (Weeks 4–6): Planting and Early Care
Week 4: Prepare beds, sow seeds on a calendar, and set transplantation timelines
- Prepare beds by weeding, loosening soil, and adding amendments as needed.
- Calendarize sowing windows and transplant dates for your crops.
- Mark rows and spacing to guide future work.
Week 5: Transplant seedlings, mulch, and implement basic irrigation
- Transplant seedlings into beds or containers with proper spacing.
- Apply mulch around plants to retain moisture and reduce weeds.
- Install a basic irrigation plan (drip or soaker hose) and test coverage.
Week 6: Establish watering routines and early pest/disease monitoring
- Set a consistent watering schedule and monitor soil moisture.
- Inspect plants for early signs of pests or disease; note action thresholds.
Phase 3 (Weeks 7–9): Growth, Maintenance, and Adjustments
Week 7: Monitor growth, thin and stake plants as needed
- Assess plant growth; thin crowded seedlings to improve air flow.
- Provide staking or supports where necessary.
Week 8: Fertilization plan and integrated pest management basics
- Apply a balanced feeding plan (compost tea or slow-release fertilizer).
- Practice IPM: monitor, deter pests with barriers, and introduce beneficials if appropriate.
Week 9: Troubleshoot common issues and adjust spacing/companion planting
- Diagnose common problems (nutrient gaps, pests, diseases).
- Adjust spacing and employ simple companion planting strategies.
Phase 4 (Weeks 10–12): Harvest, Review, and Next Steps
Week 10: Harvest windows, flavor testing, and storage
- Identify harvest windows for your crops and perform taste tests.
- Learn proper storage methods to maximize shelf life.
Week 11: Garden assessment and performance review
- Record yields, note successes and challenges, and plan improvements.
Week 12: Plan for next season, seed-saving, and winter prep
- Save seeds where possible, rotate crops, and prep for winter.