Ash Tea Brewing: Wood Fire Potash for Heavy Feeders
Before synthetic fertilizers filled every garden center shelf, farmers and homesteaders fed their most demanding crops with something they made every week — wood ash tea. This simple, almost forgotten brew delivered a steady stream of potassium, calcium, and trace minerals straight to the roots of hungry plants. Today, most gardeners walk past their firepit ash without a second thought. But your grandparents knew exactly what that pale powder was worth.
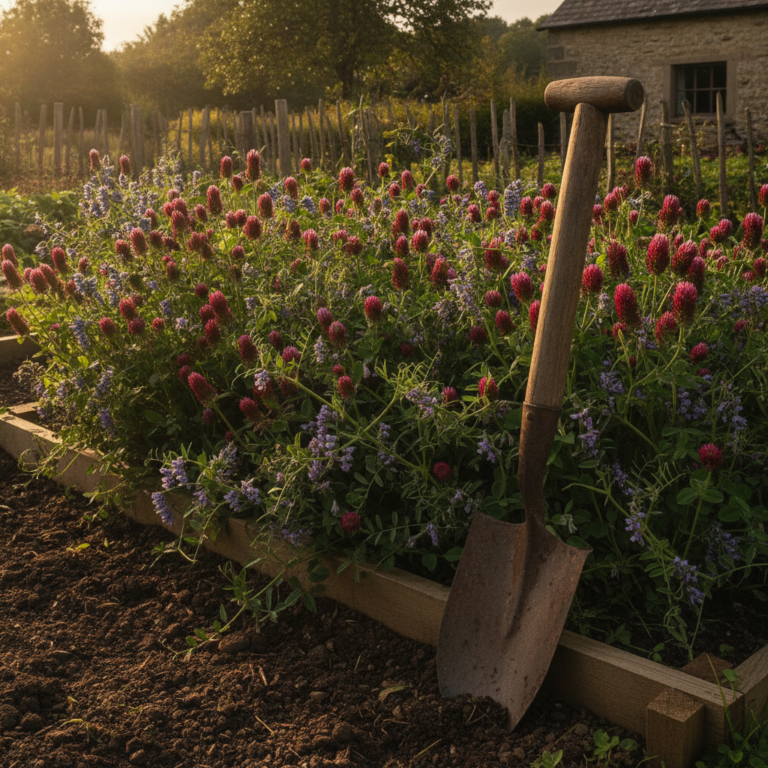
If you grow tomatoes, squash, peppers, fruit trees, or any other heavy feeder, this technique could quietly transform your harvests. No lab, no chemical inputs, no expensive bottles from the garden center. Just ash, water, and a little patience.
What Makes Wood Ash Tea So Powerful?
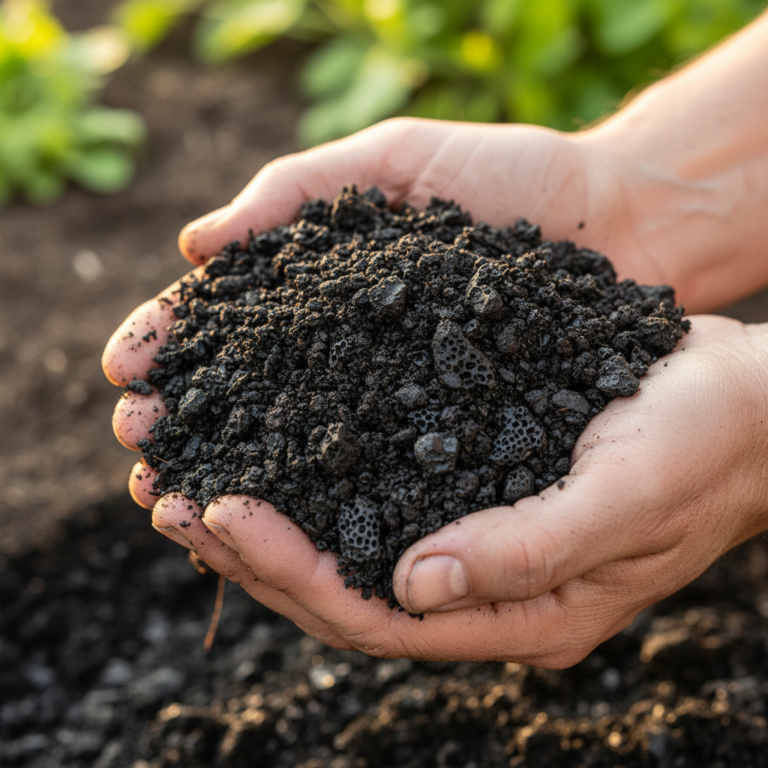
Wood ash is one of the most mineral-dense byproducts you can produce at home. When wood burns completely, it leaves behind concentrated minerals that the tree spent decades pulling from deep in the soil. That means potassium (potash), calcium carbonate, magnesium, phosphorus, and a wide range of micronutrients are all locked inside that pale, powdery residue.
Potassium is the nutrient heavy feeders crave most during fruiting and flowering. It regulates water movement inside plant cells. It strengthens cell walls. It directly boosts fruit size, flavor, and resistance to disease. Commercial fertilizers deliver potassium in a fast, sometimes harsh spike. Wood ash tea releases it slowly, gently, and in a form plants recognize.
Additionally, wood ash is naturally alkaline. Brewing it into a tea and applying it to your soil can nudge the pH upward over time. For gardeners dealing with overly acidic ground, this is a welcome side effect. If you’re not sure where your soil stands, take a few minutes to read Soil Sense Without the Lab: Read Your Dirt, Fix It Fast before you begin. Knowing your starting pH helps you apply ash tea with confidence.
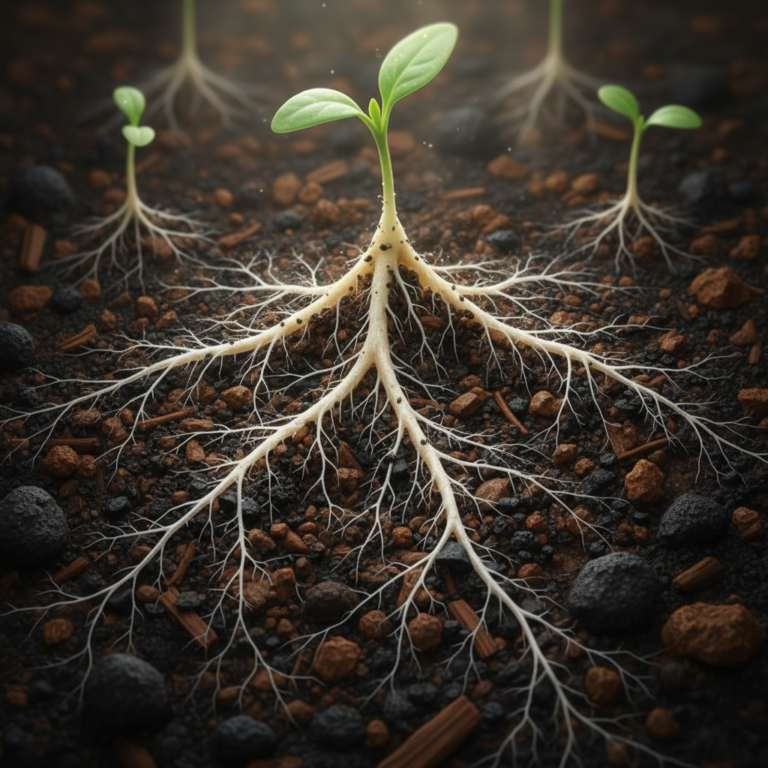
Which Plants Benefit Most from Wood Ash Tea?
Not every plant wants a potassium boost. Some prefer acidic, lower-pH conditions and won’t thank you for ash tea at all. Blueberries, azaleas, and potatoes are best left out of the equation.
However, the following heavy feeders respond beautifully to regular ash tea applications:
- Tomatoes — Potassium reduces blossom end rot and improves fruit flavor.
- Squash and zucchini — These fast-growing plants exhaust soil nutrients quickly.
- Peppers — Respond well to potassium during flowering and fruit set.
- Fruit trees — Especially apples, pears, and stone fruits entering their fruiting season.
- Cucumbers and melons — Both benefit from the mineral boost during heavy fruiting.
- Brassicas — Cabbage, kale, and Brussels sprouts love the calcium component.
If you’re choosing what to grow this season and want to match crops to your skill level, the Plant Selection Spectrum: A Tiered Crop Guide is a fantastic companion resource.
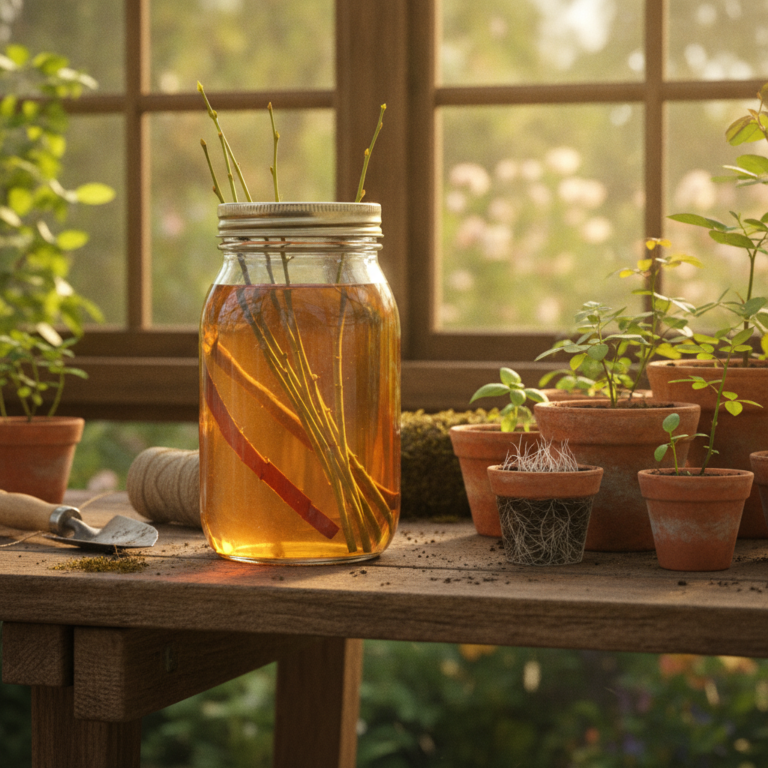
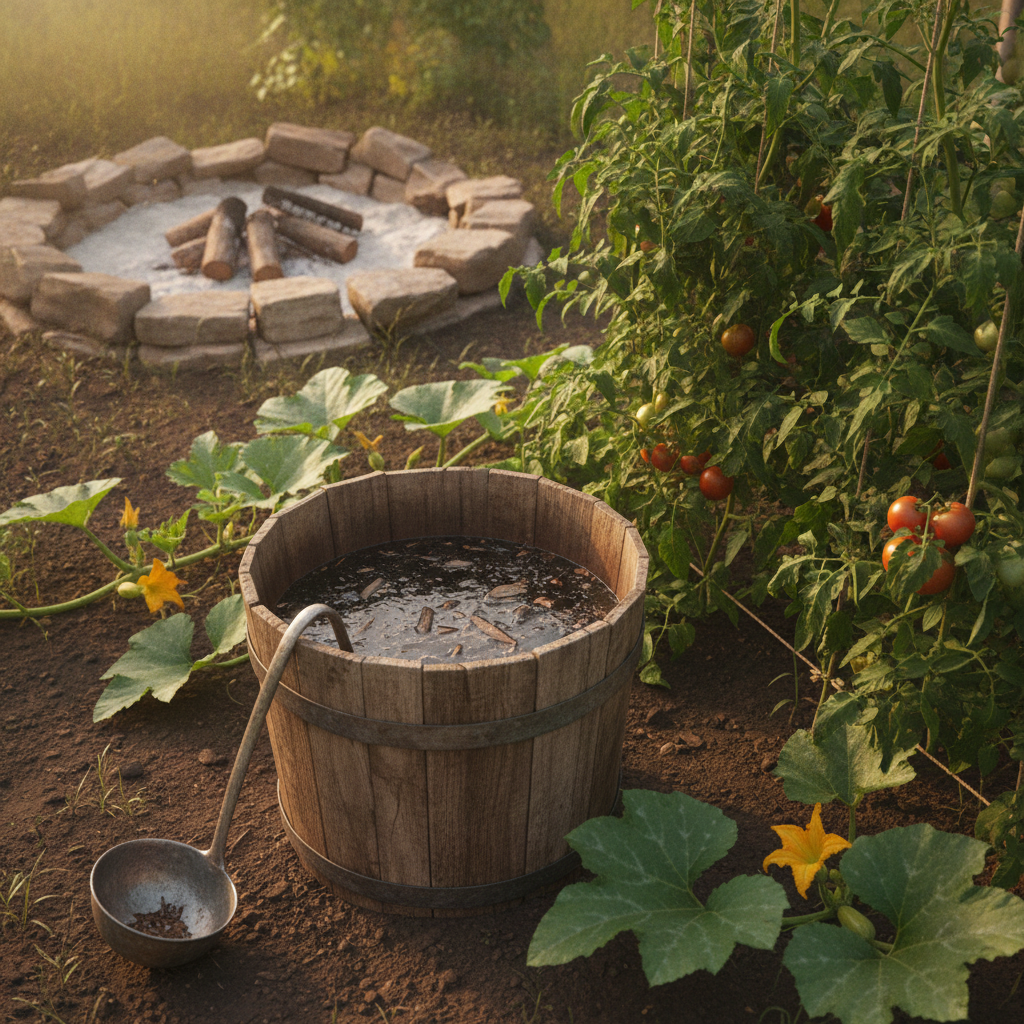
How to Brew Wood Ash Tea Step by Step
The process is almost embarrassingly simple. Your great-grandmother didn’t need instructions — she just did it. But here is the method clearly laid out so you can start today.
What You’ll Need
- 1 cup of clean, dry wood ash (hardwood is best — oak, maple, hickory)
- 1 gallon of water (rainwater or unchlorinated water is ideal)
- A bucket with a lid or cover
- A cloth, old pillowcase, or fine mesh strainer
- Gloves — ash tea is alkaline and can irritate skin
The Brewing Method
Step 1: Measure your ash. Use one cup of wood ash per gallon of water. Don’t eyeball it generously — too much ash raises pH aggressively and can harm plants. When in doubt, use less.
Step 2: Combine and stir. Add the ash directly to the bucket of water. Stir well for two to three minutes. The water will turn a cloudy grey-brown color immediately.
Step 3: Steep for 24 to 48 hours. Cover the bucket loosely and let it sit. Stir once or twice during this time. The longer you steep, the stronger the brew. For young or sensitive plants, stick to 24 hours.
Step 4: Strain carefully. Pour the liquid through a cloth or fine strainer into a clean container. Discard the solids or add them directly to your compost pile — they still hold value there.
Step 5: Dilute before applying. This is the most important step many people skip. Mix one part strained ash tea with four parts plain water before applying to your garden. Think of the strained brew as concentrate — it’s too strong straight from the bucket.
How to Apply Wood Ash Tea
Apply the diluted wood ash tea directly to the root zone of your plants. Avoid soaking the leaves, as the alkalinity can cause mild leaf burn on sensitive plants.
For tomatoes and squash, apply once every two to three weeks during the growing season. For fruit trees, one application per month during spring and early summer is sufficient. Always water your plants lightly before applying any liquid fertilizer. This protects roots from any concentrated contact.
Early morning application gives the tea time to soak in before the heat of the day. Consistent, low-dose feeding beats one large application every time.
What Wood to Use — and What to Avoid
Not all ash is created equal. Hardwood ash contains the highest potassium content. Oak, hickory, maple, and fruitwood ashes are your best options. They burn hotter and leave a denser, more mineral-rich residue.
Softwood ash from pine or spruce is lower in potassium and can contain more resins. It won’t harm your garden in small amounts, but it’s far less effective.
Never use ash from:
- Treated, painted, or stained wood
- Plywood or MDF — these contain toxic binders and glues
- Charcoal briquettes — these are not the same as natural wood ash
- Paper or cardboard with colored ink
- Any wood that was chemically treated
Only clean, untreated wood ash belongs in your garden. This is a non-negotiable rule. The whole point of this technique is to use something pure and natural.
Storing Your Wood Ash Safely
Ash needs to be kept dry to remain effective. Moisture causes it to clump and lose some of its potency over time. Store dry ash in a metal bin with a tight-fitting lid — never plastic, since ash retains heat and can be a fire risk when freshly collected.
Let freshly collected ash cool completely — at least 24 hours — before moving it to storage. A metal garbage can works perfectly and keeps it dry between uses.
If you want to try other small-scale natural fertilizer experiments alongside ash tea, the Garden Experiments: 3 Safe, Small-Scale Trials That Grow Your Gardening Confidence post gives you a wonderful framework for testing different methods side by side.
Ash Tea and Soil pH: What You Need to Know
Wood ash tea raises soil pH over time. That’s a feature, not a bug — as long as you understand it.
Most vegetables thrive in a pH range of 6.0 to 7.0. If your soil is sitting below 6.0, ash tea is a gentle, food-safe way to bring it up. However, if your soil is already neutral or slightly alkaline, regular ash tea applications could tip things too far.
Test your soil pH at the beginning and end of each season. A simple home pH kit takes five minutes and costs almost nothing. Understanding this one number will help you use wood ash tea strategically rather than blindly.
If you’re growing heavy feeders as part of a larger edible garden design, you might also enjoy exploring the Microforest in Small Spaces: A Step-by-Step Plan for Edible, Biodiverse Gardens. Stacking fruiting plants at multiple heights gives ash tea even more opportunities to do its job.
The Forgotten Wisdom Behind This Technique
There is something quietly satisfying about closing the loop in your garden. You burn wood for warmth. The ash feeds your tomatoes. The tomatoes feed your family. Nothing goes to waste. That’s the old way — and it worked beautifully for centuries before chemistry companies convinced everyone they needed a bottle of something orange and synthetic.
Wood ash tea isn’t magic. It won’t fix broken soil overnight. But as part of a thoughtful, natural garden practice — alongside compost, mulch, and healthy crop rotation — it delivers exactly the kind of steady, gentle mineral feeding that heavy feeders need most.
Your firepit is producing liquid gold every time you light it. Start collecting it. Brew it. Pour it slowly around your tomato roots on a quiet morning. And watch what happens by harvest time.
If you’re just beginning to build your organic gardening skills and want a clear, progressive path, the Layered Learning: A Gardener’s Progressive System That Grows with You is an excellent place to continue your journey. Techniques like ash tea fit naturally into a growing toolkit built on curiosity and observation.
Ready to plant the heavy feeders that will benefit most from your first ash tea brew? Sourcing heirloom vegetable seeds and organic growing supplies from a trusted source means you’re starting with plants bred for flavor and resilience — exactly the kind that reward old-fashioned soil care.
The old-timers didn’t have access to soil labs or NPK charts. They had observation, patience, and a firepit. That was enough. It still is.