Green Manure Crops: The Plow-Under Secret
Long before a bag of synthetic nitrogen existed on any store shelf, farmers already knew how to feed their soil. They grew green manure crops — specific plants raised not for harvest, but to be chopped down and buried alive. This plow-under secret built soil fertility season after season without spending a single dollar on amendments. And the best part? You can do it in a home garden just as easily as those old-time farmers did on hundreds of acres.
What Are Green Manure Crops, Exactly?
A green manure crop is any plant you grow specifically to dig back into the soil. You never eat it. You never compost it off-site. You simply cut it down at the right moment and turn it under while it’s still green and juicy.
The idea is elegantly simple. Living plant tissue is packed with nitrogen, carbon, and trace minerals. When you bury it, soil microbes go to work breaking it down. They release those nutrients slowly and steadily — exactly the way plant roots prefer to absorb them.
This is fundamentally different from adding a bagged amendment. A bag gives your soil a sharp spike of one or two nutrients. A buried green manure feeds a whole underground ecosystem. That ecosystem then feeds your vegetables for weeks, sometimes months, afterward.
If you’re still getting to know your soil’s current condition, it’s worth reading Soil Sense Without the Lab: Read Your Dirt, Fix It Fast before you start. Understanding what your soil already has will help you choose the right green manure plants.
The Best Green Manure Crops for Home Gardens
Not every plant makes a great green manure. The best ones grow fast, produce a lot of biomass, and ideally fix atmospheric nitrogen into the soil through root bacteria. Here are the top choices, broken into two categories.
Nitrogen-Fixing Legumes
These are the crown jewels of green manuring. Legumes form partnerships with Rhizobium bacteria in their roots. Together, they pull nitrogen directly from the air and store it in root nodules. When you plow the plant under, all that stored nitrogen enters the soil.
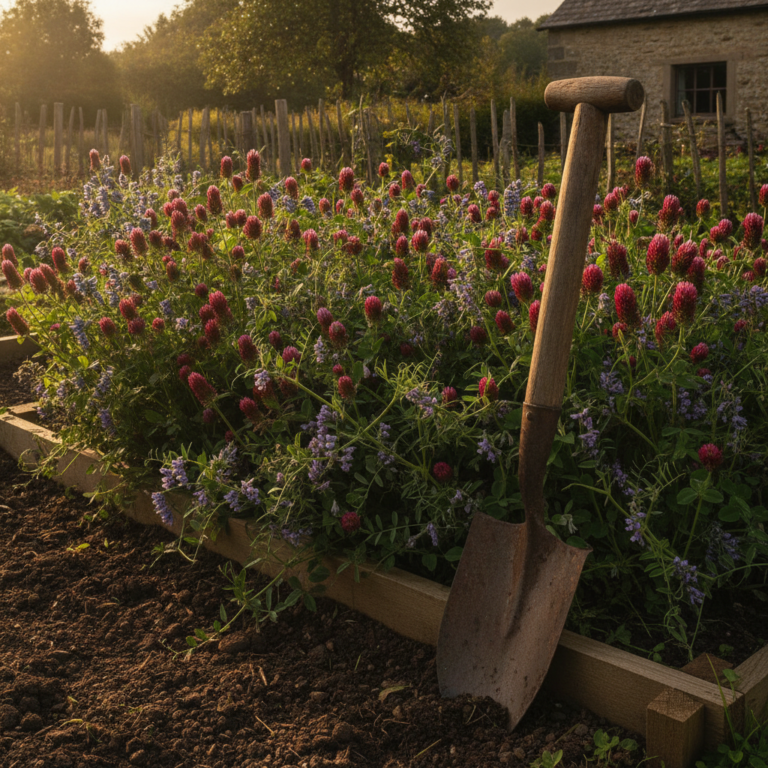
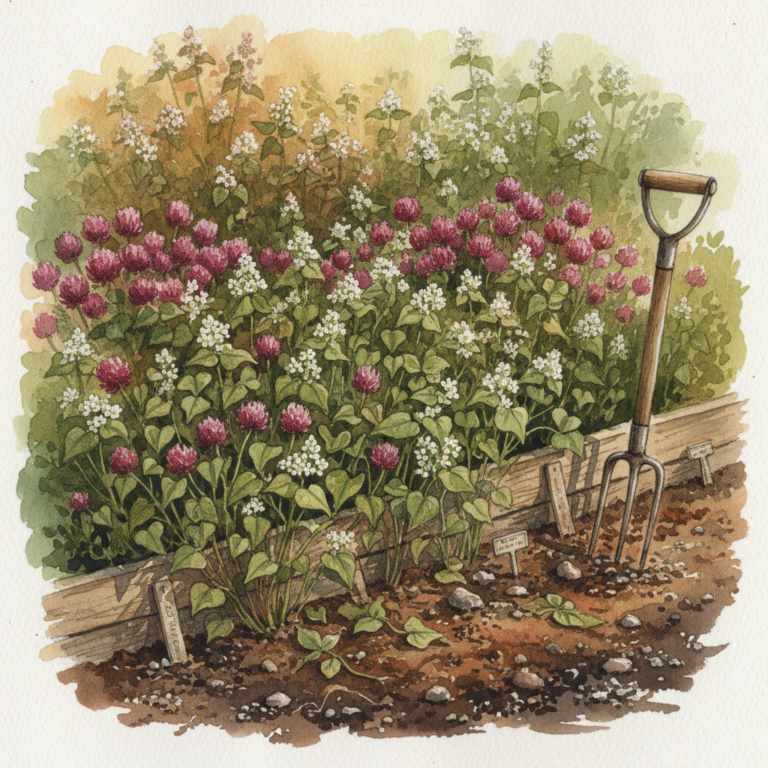
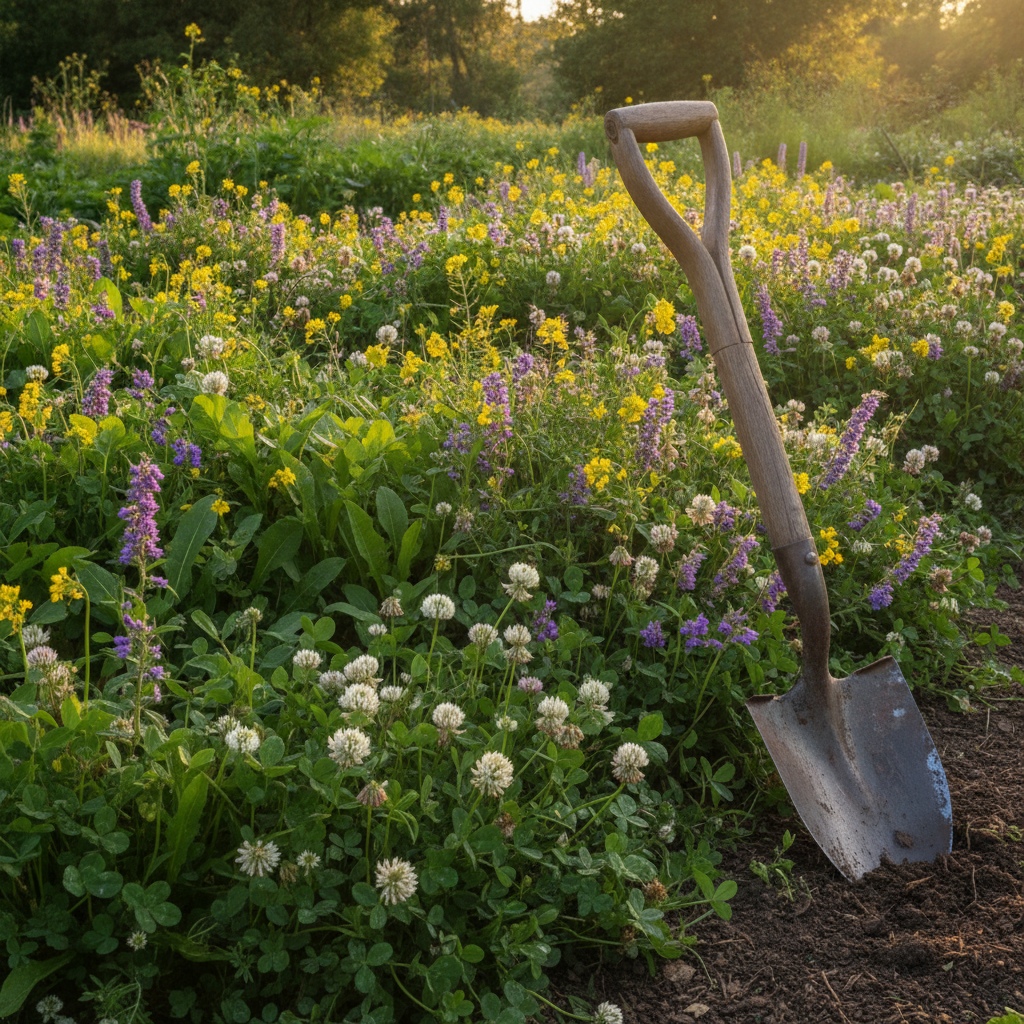
- Crimson clover — Fast-growing, cold-tolerant, and stunning in bloom. Plant in early fall or early spring.
- Hairy vetch — One of the highest nitrogen fixers available to home gardeners. Excellent winter hardiness.
- Field peas (Austrian winter peas) — Quick to establish, easy to turn under, reliable nitrogen contribution.
- Fava beans — Excellent for cool seasons. Large biomass means lots of organic matter going back into the ground.
- Buckwheat — Technically not a legume, but it grows extremely fast in summer heat and smothers weeds beautifully.
Biomass Builders
These plants don’t fix nitrogen, but they produce enormous amounts of leafy green matter. That carbon-rich material feeds the soil food web and dramatically improves soil structure.
- Winter rye — Hardy, fast, and produces deep fibrous roots that break up compacted ground.
- Oats — Excellent spring option that winter-kills in cold climates, making spring tillage easier.
- Phacelia — Underused but exceptional. Breaks down quickly and is beloved by pollinators before you cut it down.
The Timing Secret: When to Cut and Bury
This is where most gardeners go wrong. They either cut too early, before the plant has built up enough biomass, or they wait too long until it goes to seed and becomes woody.
The sweet spot is just before or at the very beginning of flowering. At this stage the plant has maximum nitrogen concentration in its leaves and stems. The tissue is still soft and succulent. It will break down quickly once buried.
Here’s a simple rule: cut when you see the first flowers opening, not when the whole plant is blooming. That’s your window. Don’t miss it.
After cutting, chop the plant material as finely as you can with a spade or hoe. Then turn it into the top 6–8 inches of soil. Cover it completely. Now here comes the most important step that most guides skip entirely.
Wait two to three weeks before planting. Decomposing plant matter temporarily locks up available nitrogen as microbes work. Plant too soon and your seedlings will struggle. Wait for the soil to settle, and you’ll be planting into some of the richest ground you’ve ever grown in.
How Green Manure Outperforms Store-Bought Conditioners
It’s a fair question: why bother when you can just buy a bag of compost or fertilizer? Here’s what the bag cannot give you.
First, living roots do something no amendment can replicate. They physically open up the soil as they grow, creating channels for water and air. When those roots decompose in place, they leave behind a network of tiny tunnels. Worms move in. Drainage improves. Compaction melts away over a season or two.
Second, the biology is unmatched. Turning under green plant matter supercharges your soil’s microbial population. More microbes mean more nutrient cycling, better disease suppression, and improved moisture retention. A store-bought product gives you nutrients. A green manure gives you a functioning underground ecosystem.
Third, it costs almost nothing. A packet of clover seed or a pound of field peas is inexpensive. Compare that to bags of fertilizer, compost, and soil conditioners piling up in your garage every season.
If you’re working with limited space and want to layer green manuring into a broader garden system, Microforest in Small Spaces: A Step-by-Step Plan for Edible, Biodiverse Gardens shows how to integrate soil-building techniques even in tight spots.
Your Practical Green Manure Planting Calendar
Here’s a straightforward seasonal calendar you can start using this year. Adjust timing by two to three weeks depending on your climate zone.
Spring (March–May)
As soon as soil can be worked, sow field peas, oats, or phacelia in any bed that won’t be planted until late spring. Cut and bury them 6–8 weeks after sowing, then wait two to three weeks before planting vegetables.
Early Summer (May–June)
Buckwheat is your best friend in summer gaps. It germinates in warm soil fast, suppresses weeds aggressively, and breaks down quickly. Sow it in any empty bed. Cut it at first flower — usually 5–6 weeks after sowing.
Late Summer (August–September)
After summer crops finish, sow hairy vetch, crimson clover, or a vetch-rye mix immediately. These will establish before frost and either overwinter or winter-kill depending on your zone. Either way, you’ll have rich material to turn under in early spring.
Fall (September–October)
Winter rye is your most reliable fall option. Sow it after clearing summer beds. It germinates in cool soil and will still be growing strong in spring. Turn it under in early spring, wait three weeks, then plant your summer crops into fantastic soil.
For help fitting this calendar into a broader seasonal plan, the Climate-Proof Your Crops: A 30-Day, Microclimate–Aware Planting Plan is a great companion resource that accounts for your specific growing conditions.
A Few Common Mistakes to Avoid
Even a simple technique has its pitfalls. Watch out for these.
Letting plants go to seed. If your green manure sets seed before you turn it under, you’ll have a weed problem next season. Stay ahead of the flowering window.
Burying too deep. The active decomposition zone is in the top 8 inches of soil. Turning material deeper than that slows breakdown significantly. Keep it shallow.
Planting too soon after turning. The two-to-three-week waiting period isn’t optional. Decomposing material creates heat and temporarily depletes available nitrogen. Be patient.
Skipping inoculant for legumes. If you’ve never grown legumes in a particular bed, the right Rhizobium bacteria may not be present. Buy a legume inoculant (a small packet of dry powder) and coat your seeds before planting. It makes a significant difference in nitrogen fixation.
Start Small, See the Difference Yourself
You don’t need to convert your entire garden to green manures this season. Start with one empty bed. Sow a packet of crimson clover or buckwheat. Watch it grow. Cut it at the right moment, bury it, and then plant something you love into that ground three weeks later.
The difference in plant vigor will be noticeable. Your vegetables will tell you the soil has changed. And once you see it, you’ll wonder why you ever relied on bags in the first place.
This is the kind of experiment that builds real gardening confidence. If you enjoy testing techniques like this in small, low-risk ways, Garden Experiments: 3 Safe, Small-Scale Trials That Grow Your Gardening Confidence is packed with ideas for doing exactly that.
Your grandparents knew that soil wasn’t something you fed from a bag. It was something you tended, cultivated, and partnered with. Green manure crops are one of the clearest expressions of that old wisdom — and they work just as well today as they ever did. This season, give your soil what it’s been waiting for.