Water Harvesting Layers: Capture Every Drop in Your Food Forest
Creating a thriving food forest means designing water harvesting layers that capture and store precious rainfall at every level of your ecosystem. When you master the art of water collection throughout your garden’s vertical layers, you’ll reduce irrigation costs, boost plant health, and create a truly self-sustaining landscape that works with nature instead of against it.
Most gardeners focus solely on ground-level watering, missing incredible opportunities to collect moisture from canopy drip, fog capture, and surface runoff. However, by implementing strategic water harvesting techniques at each forest layer, you transform your garden into a resilient, drought-proof ecosystem that thrives even during dry spells.
Understanding Your Food Forest’s Water Harvesting Potential
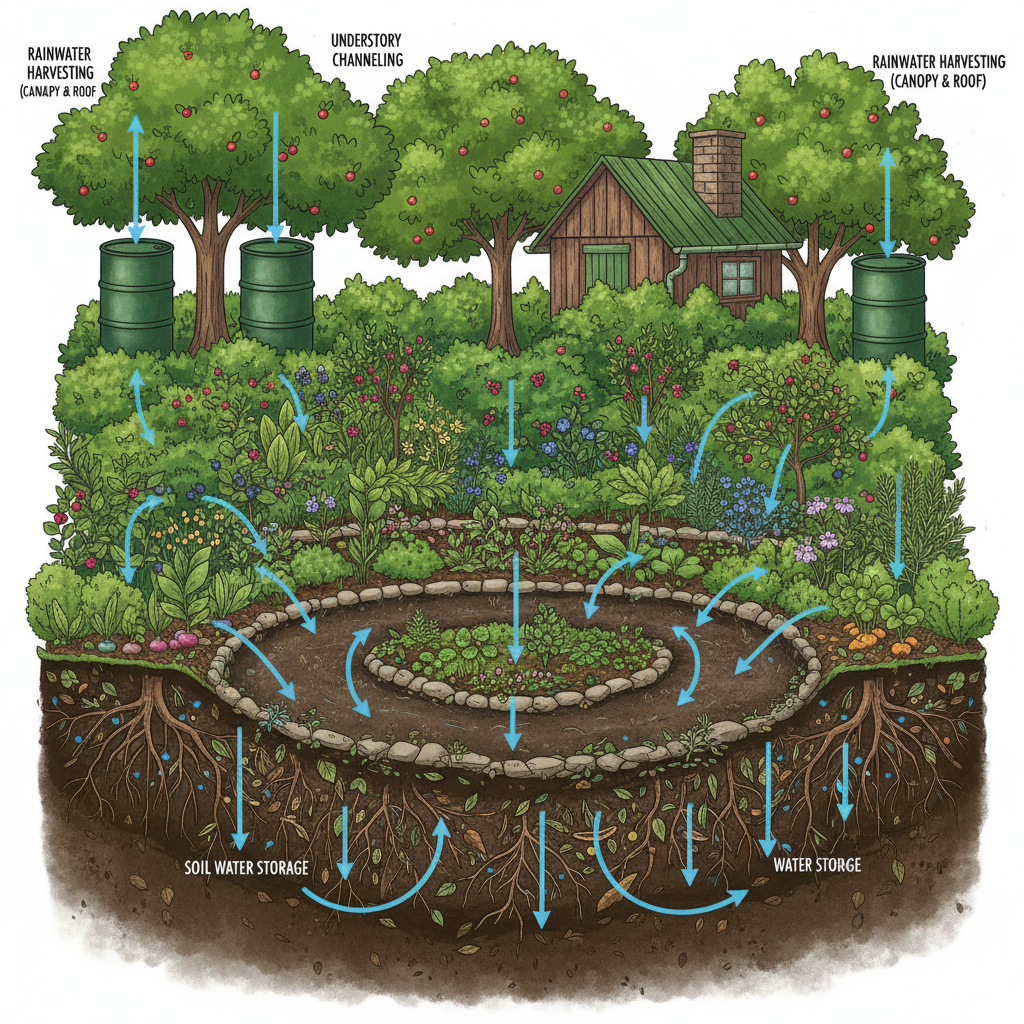
Every food forest operates as a complex water system with multiple collection opportunities. From the towering canopy layer down to the root zone, each level presents unique chances to capture, slow, and store water naturally.
The key lies in recognizing how water moves through your garden ecosystem. Rain hits your canopy first, then drips down through understory plants, flows across surfaces, and eventually infiltrates into soil layers. By intercepting water at each stage, you maximize every precious drop.
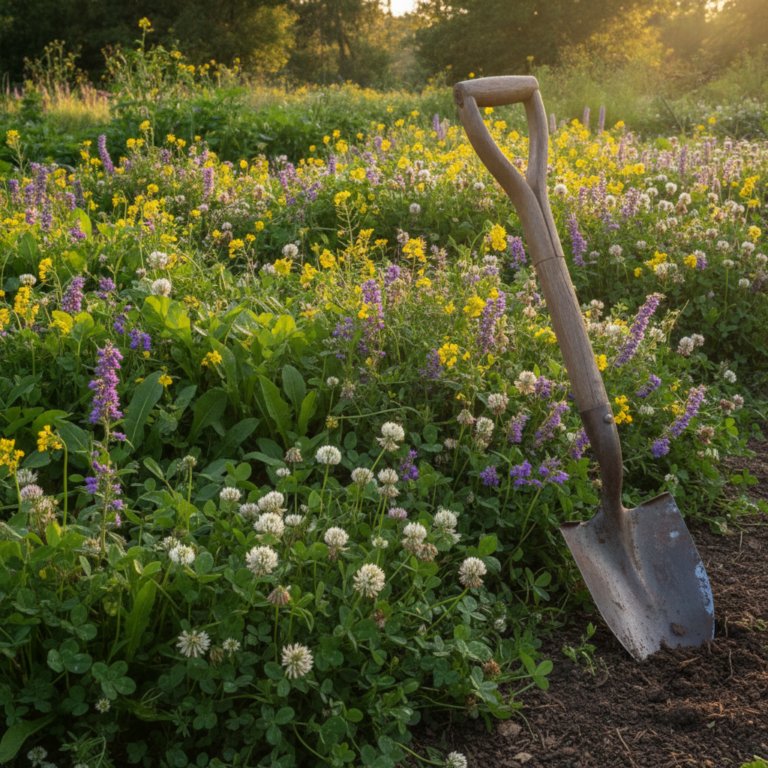
Before designing your collection system, spend time observing how water behaves in your space during different weather conditions. Notice where it pools, where it flows fastest, and where it naturally wants to collect. This observation forms the foundation of effective water harvesting layers.
Mapping Your Garden’s Water Flow
Start by creating a simple water flow map of your property. Walk your garden during the next rainfall and note where water enters, where it speeds up, and where it naturally slows down. Mark areas that stay soggy longer and spots that dry out quickly.
These observations will guide your harvesting strategy. Fast-flowing areas need intervention to slow water down, while naturally boggy spots can become collection points for your system.
Canopy Layer: Your First Line of Water Collection
The canopy layer offers your first and often most productive water harvesting opportunity. Large trees intercept rainfall before it reaches the ground, creating concentrated drip zones beneath their branches.
Position rain barrels or larger storage containers directly under these natural drip lines. A single mature fruit tree can funnel hundreds of gallons of water to specific ground locations during heavy rainfall.
For smaller spaces, consider installing gutters along greenhouse edges, chicken coop rooflines, or even temporary structures like tarps stretched between trees. These surfaces dramatically increase your collection area without requiring permanent infrastructure.
Fog Harvesting in Humid Climates
In coastal or humid regions, your canopy can also harvest moisture from fog and heavy dew. String mesh nets between trees or install fog-catching screens in breezy locations. Water condenses on these surfaces and drips down into collection containers.
This technique works particularly well in Mediterranean climates where summer fog provides crucial moisture during dry periods. Even modest fog harvesting can provide supplemental irrigation for sensitive plants.
Understory and Shrub Layer Water Strategies
Your understory plants create secondary collection opportunities while also serving as living water filters. These mid-height plants catch water that flows off canopy leaves and direct it toward their root zones.
Design your shrub placements to create natural funneling systems. Plant water-loving species in areas where canopy drip naturally concentrates, and position drought-tolerant plants in drier zones between drip lines.
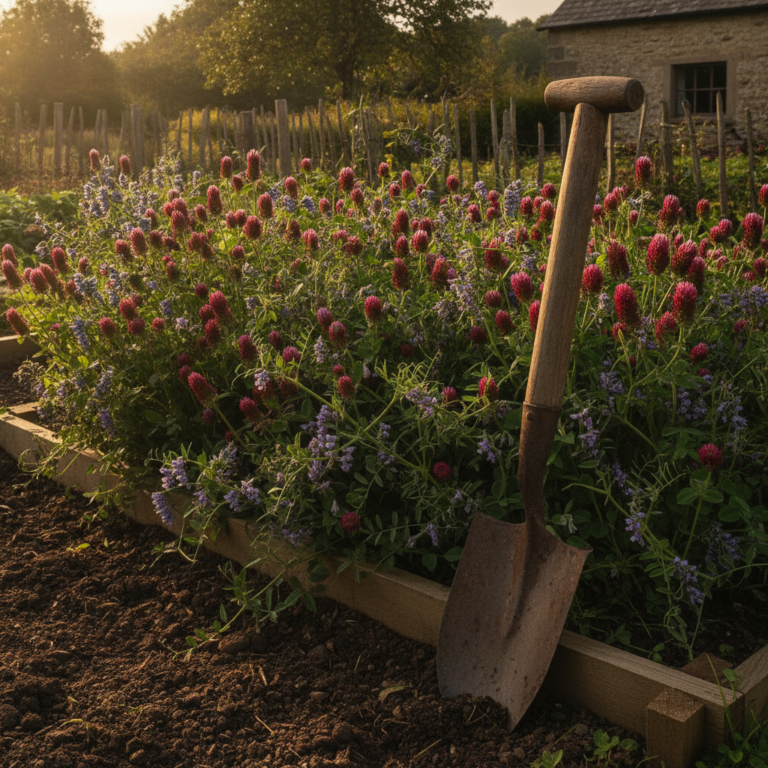
Berry bushes, herb spirals, and flowering perennials excel in this layer because they benefit from consistent moisture while providing food and habitat. Their varied root depths also help break up soil compaction, improving water infiltration throughout your system.
Living Mulch as Water Retention
Low-growing groundcovers in your understory act as living mulch, reducing evaporation while adding organic matter to soil. Creeping thyme, wild strawberries, and low-growing herbs create natural water-holding carpets beneath taller plants.
These plants also help distribute water laterally through their root networks, moving moisture from wetter areas to drier spots naturally.
Ground Level: Swales, Berms, and Surface Flow Management
Ground-level water harvesting layers involve reshaping your landscape to slow, spread, and sink water naturally. This is where most gardeners can make the biggest impact with relatively simple techniques.
Swales are shallow depressions that follow the contour of your land, capturing runoff and allowing it to soak in slowly. Even a modest 6-inch deep swale can hold significant amounts of water during heavy rains.
Pair swales with berms (small earth mounds) on the downhill side to create planting areas with consistent moisture. The combination creates microclimates perfect for water-loving vegetables and fruits.
Understanding your soil conditions is crucial for effective ground-level water harvesting. Learning to read your soil helps you determine how quickly water infiltrates and where you might need amendments to improve drainage or retention.
Keyline Design for Slope Management
On sloped properties, keyline design principles help you work with natural water flow patterns. Instead of fighting gravity, you redirect runoff along gentle contours that feed your planted areas systematically.
Start with small interventions like rock-lined channels or timber check dams that slow water flow. As you gain confidence, you can implement larger earthworks that dramatically reshape how water moves through your landscape.
Root Zone: Underground Water Storage Systems
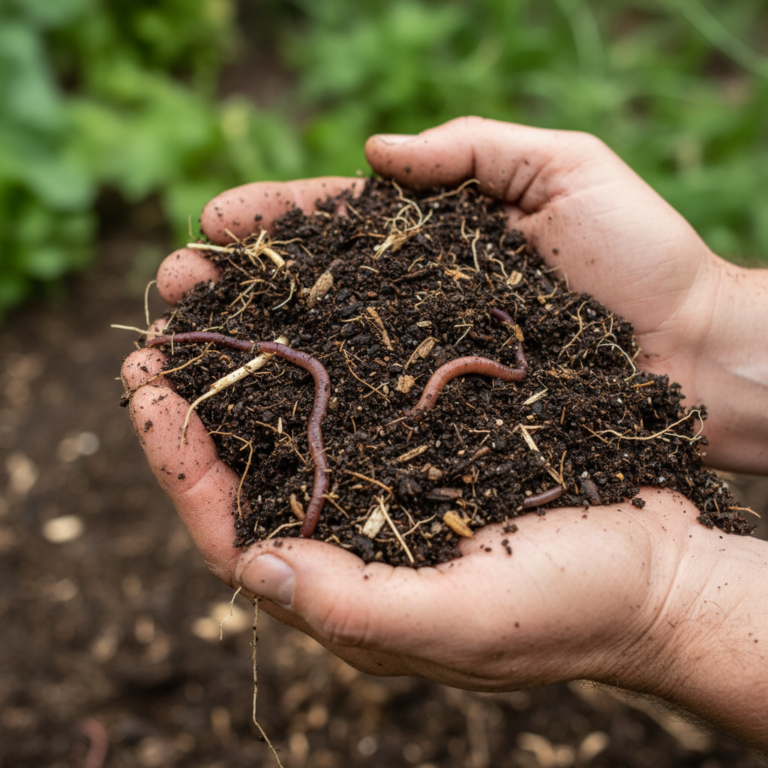
The root zone represents your deepest water harvesting opportunity. Here, you’re working with soil structure, organic matter, and beneficial fungi to create underground reservoirs that sustain plants through dry periods.
Improve your soil’s water-holding capacity by adding compost, aged manure, and biochar. These amendments act like tiny sponges, absorbing rainfall and releasing it slowly to plant roots over time.
Deep mulching also plays a crucial role in root zone water harvesting. A 4-6 inch layer of organic mulch can reduce evaporation by up to 70% while slowly decomposing to feed soil biology.
For beginners looking to build these skills systematically, consider following a structured learning approach that builds your understanding of soil and water management gradually.
Mycorrhizal Networks as Water Highways
Healthy soil fungi create underground networks that transport water between plants efficiently. These mycorrhizal partnerships can move moisture from wet areas to dry areas, creating natural irrigation systems.
Encourage fungal growth by minimizing soil disturbance, adding wood chips as mulch, and avoiding synthetic fertilizers that disrupt these beneficial relationships.
Integrating Water Harvesting with Microclimate Management
Effective water harvesting layers work hand-in-hand with microclimate creation. Areas with consistent moisture stay cooler in summer and provide refuges for sensitive plants during heat waves.
Position your water collection points to create cooling zones around heat-sensitive crops. The evaporation from stored water and consistently moist soil creates natural air conditioning that can lower temperatures by several degrees.
These microclimate effects become especially important as weather patterns become more extreme. Creating climate-resilient growing conditions through strategic water management helps your garden thrive regardless of weather variability.
Seasonal Water Management Strategies
Your water harvesting system needs to adapt to seasonal changes. Spring runoff requires different management than summer thunderstorms or winter snow melt.
Plan for overflow management during wet seasons and water conservation during dry periods. Install spillways in your swales, and consider seasonal covers for storage containers to prevent mosquito breeding.
Getting Started: Your First Water Harvesting Projects
Begin your water harvesting journey with simple, low-cost projects that provide immediate benefits. A single rain barrel connected to a downspout can collect hundreds of gallons per year while teaching you basic system management.
Next, try creating a small swale in an area where you’ve observed water pooling. Even a 10-foot swale provides valuable experience with earth moving and water flow management.
As your confidence grows, expand to more complex systems like terraced gardens, constructed wetlands, or integrated greywater systems that turn household wastewater into irrigation gold.
Remember that building effective water harvesting layers is a skill that develops over time. Start small, observe results, and gradually expand your system as you learn how water behaves in your unique landscape.
Maintenance and Monitoring
Like any garden system, water harvesting infrastructure needs regular attention. Clean gutters and screens monthly, inspect storage containers for leaks, and maintain plant growth in your swales.
Keep notes about which areas of your system work well and which need adjustment. This documentation becomes invaluable for refining your approach and planning future improvements.
By implementing these water harvesting strategies throughout all layers of your food forest, you create a resilient, self-watering ecosystem that reduces your environmental impact while providing abundant harvests. Every drop you capture is a step toward greater garden independence and sustainability.