Water Harvesting Zones: Design Garden’s Natural Flow
Every garden tells a unique water story. Raindrops hit your roof, flow down gutters, and race across slopes – carrying precious moisture away from thirsty plants. But what if you could redirect this natural flow? Water harvesting zones transform these runaway streams into productive growing areas that capture, store, and slowly release moisture exactly where your plants need it most.
Instead of watching valuable rainwater disappear down storm drains, smart gardeners are learning to read their landscape’s natural patterns. Then they design simple systems using swales, berms, and strategic plant placement to work with gravity and weather patterns.
Reading Your Garden’s Water Story
Before you can create effective water harvesting zones, you need to understand how water already moves through your space. Start by observing your garden during the next heavy rain.
Watch where puddles form and where water runs off quickly. Notice which areas stay soggy for days and which dry out fast. These observations reveal your landscape’s natural drainage patterns and problem spots.
Most importantly, identify your water sources. Roof runoff from gutters provides the most concentrated flow. Slopes and pathways channel additional water. Even gentle grades create micro-watersheds that you can capture and use.
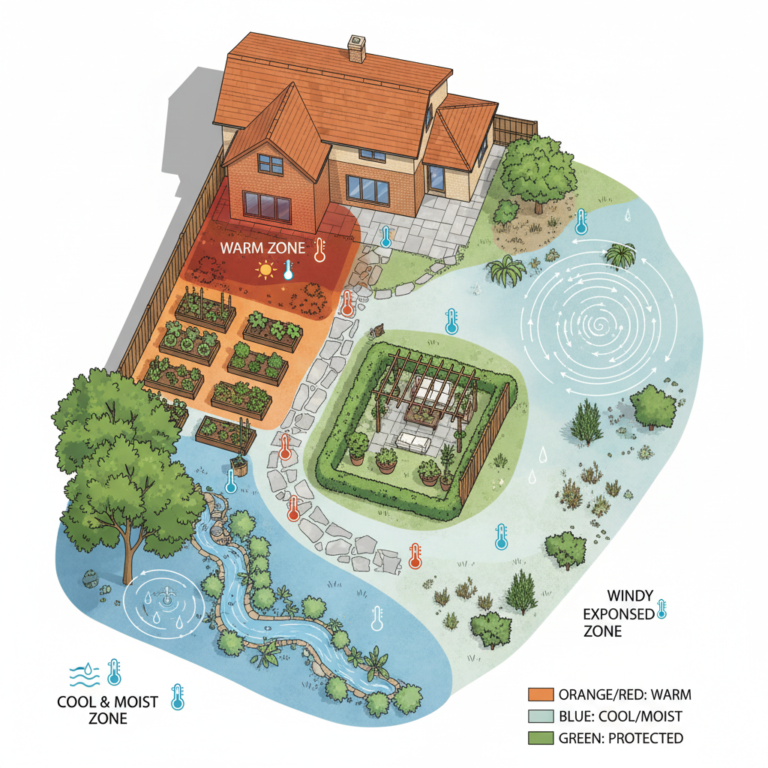
For a deeper understanding of your garden’s unique conditions, check out our guide on mapping your garden microclimates to see how sun, wind, and moisture patterns interact.
The Magic of Swales and Berms
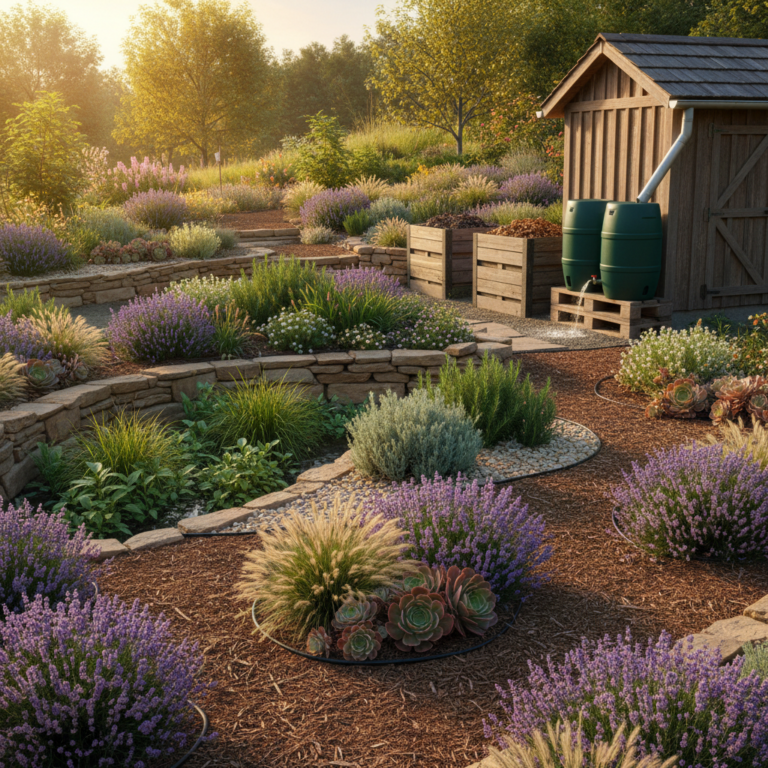
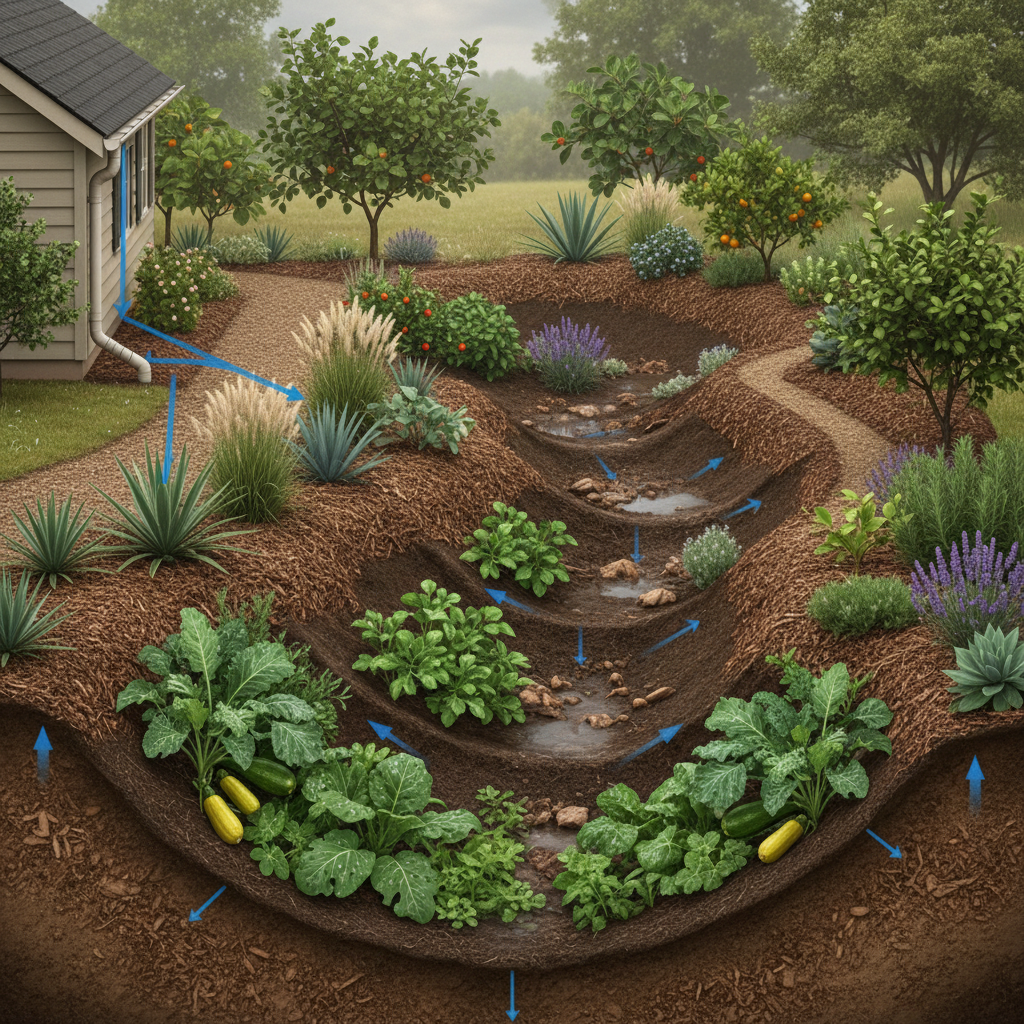
Swales and berms form the backbone of any water harvesting system. Think of them as your garden’s natural plumbing – but instead of pipes, you’re using shaped earth to direct and hold water.
A swale is simply a shallow depression that catches and holds runoff. When water flows into this gentle dip, it soaks slowly into the soil instead of rushing away. Meanwhile, the excavated soil creates a berm (small hill) on the downhill side.
This berm-and-swale combination creates distinct growing zones. The swale bottom stays consistently moist – perfect for water-loving plants. The berm top drains quickly, ideal for herbs and plants that prefer drier conditions.
Start small with a simple 18-inch-wide swale along a natural slope. Dig just 6-8 inches deep and pile the soil downhill. You’ll be amazed how much water this modest depression can capture.
Strategic Plant Placement in Water Harvesting Zones
Once you’ve created your water capture systems, plant placement becomes crucial. The key is matching plants to their ideal moisture levels within each zone.
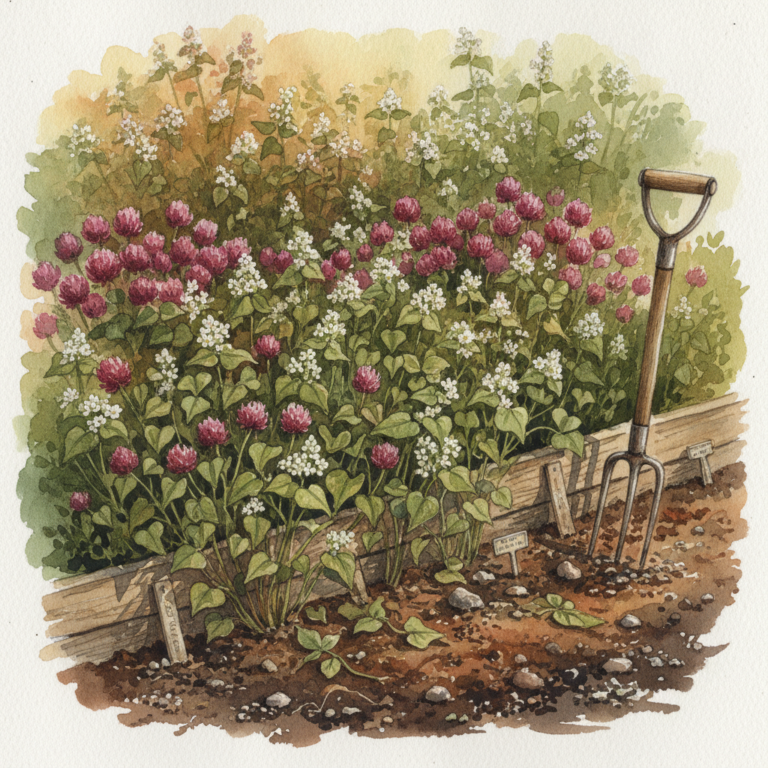
In swale bottoms, plant moisture-lovers like Swiss chard, lettuce, and celery. These crops thrive with consistent water and often struggle in dry conditions. Berry bushes also love swale placement, especially if you’re building a microforest in small spaces.
On berm tops, place Mediterranean herbs, tomatoes, and other plants that prefer good drainage. The elevated position prevents root rot while still providing access to stored water below.
The transition zones between swales and berms offer medium moisture conditions. These spots work perfectly for most vegetables and flowers that need regular but not constant water.
Building Your First Water Harvesting Zone
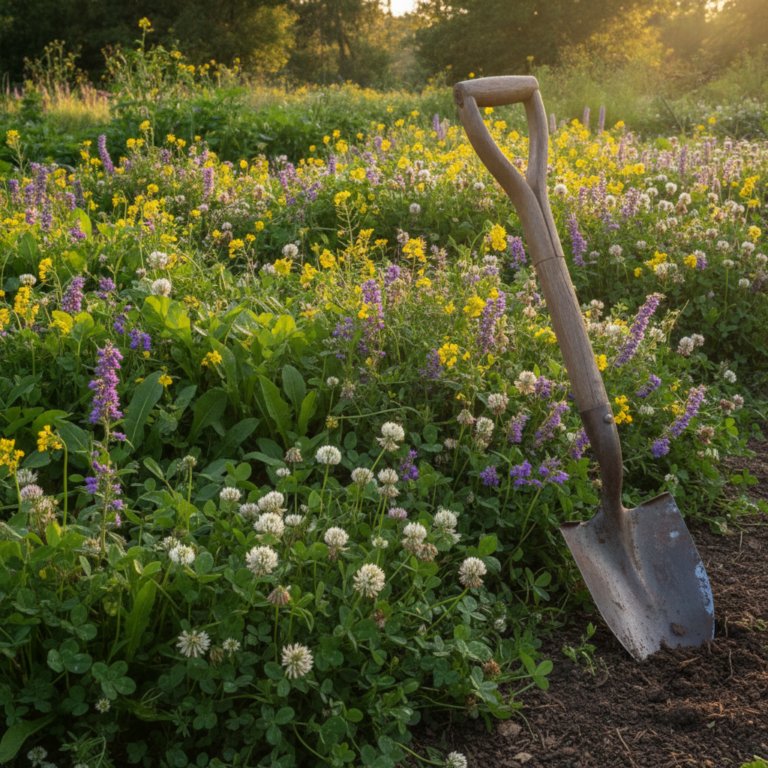
Ready to start? Begin with one simple system to test the concept. Choose a spot where you already see natural water flow – perhaps near a downspout or along a gentle slope.
First, mark your swale path with spray paint or flour. Keep curves gentle and follow the natural contour of your land. A 20-foot swale can capture hundreds of gallons during heavy rains.
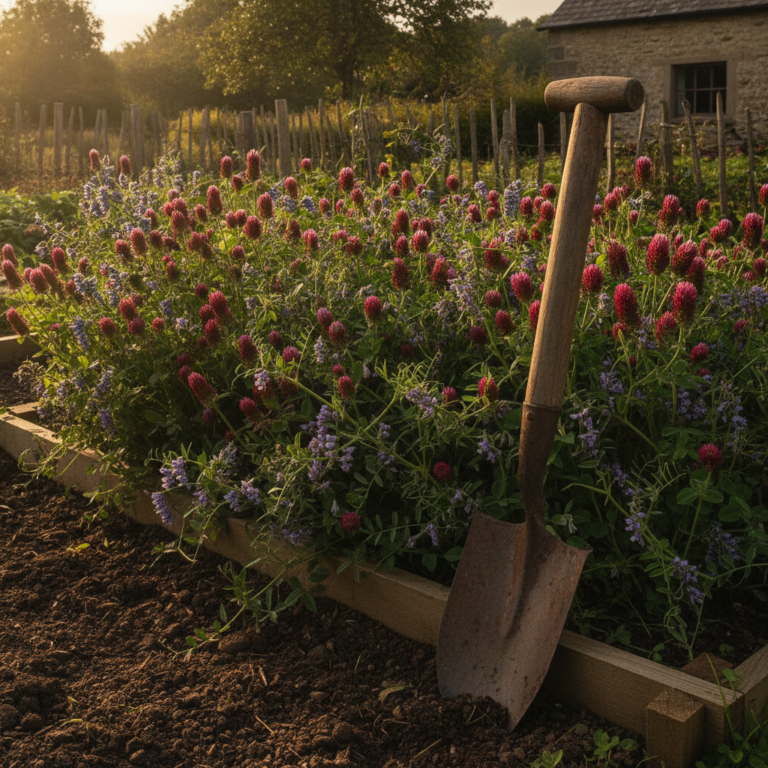
Dig your swale 6-8 inches deep and 18-24 inches wide. Save all excavated soil for your berm. Compact the bottom lightly to create a slight seal that slows water infiltration.
Build your berm immediately downhill, using the excavated soil. Make it roughly twice as wide as it is tall for stability. A 6-inch-tall berm should be about 12 inches wide at the base.
If you’re new to garden design, our smart starts guide offers additional tips for planning your first major garden project.
Advanced Water Harvesting Techniques
Once you’ve mastered basic swales and berms, several advanced techniques can boost your system’s effectiveness. Overflow spillways prevent erosion during heavy rains by directing excess water safely downhill.
Mulch basins around trees and large plants create mini water harvesting zones. Simply build a shallow ring of mulch around each plant’s drip line. This technique works especially well in water harvesting zones where you want to maximize every drop.
French drains filled with gravel can extend your system’s reach. These underground channels move water from problem areas to your planted swales and berms.
Rock check dams in steeper swales slow water flow and prevent erosion. Use stones about the size of your fist, stacking them 8-12 inches high across the swale bottom.
Seasonal Maintenance and Monitoring
Like any garden system, water harvesting zones need regular attention to function properly. Spring cleaning removes debris that accumulated over winter and may block water flow.
Check for erosion after heavy storms, especially in the first year before plants establish. Add soil to rebuild berms and deepen swales as needed.
Monitor plant performance to fine-tune your system. If swale plants look waterlogged, add drainage material or reduce water input. If berm plants stress from drought, consider adjusting the system to hold more moisture.
Keep detailed records of what works and what doesn’t. This documentation becomes invaluable as you expand your water harvesting network throughout your garden.
Troubleshooting Common Issues
Even well-designed systems can develop problems. Standing water that doesn’t drain within 24 hours often indicates compacted soil or insufficient slope. Add organic matter and create gentle grades to improve drainage.
Mosquito breeding can become an issue in slow-draining swales. Ensure water infiltrates within a day, or add beneficial bacteria tablets designed for water features.
Erosion usually happens when water moves too fast through your system. Install check dams, plant ground covers, or adjust slopes to slow the flow.
If your swales overflow during moderate rains, they may be too shallow or have insufficient spillways. Gradually deepen problem areas and add overflow channels.
Expanding Your Water Harvesting Network
Success with your first system naturally leads to bigger ambitions. Start connecting individual swales with gentle channels that move overflow from one area to another.
Consider your entire property as one large watershed. Roof water can flow through multiple capture points before finally reaching a rain garden or seasonal pond at the lowest point.
Integrate your water harvesting zones with other permaculture elements like compost areas and tool storage. This creates efficient workflows while maximizing space usage.
Remember that building these systems takes time. Plan to add one or two new elements each season rather than trying to transform everything at once.
Working with natural water patterns transforms your garden from a water-dependent system into a water-wise ecosystem. These techniques not only reduce your irrigation needs but create more resilient growing conditions that support both plants and beneficial wildlife.
Start observing your water story today. With careful planning and simple earthworks, you can turn every raindrop into garden gold.