
No-Till Gardening: Transform Your Soil Without Digging
Ready to revolutionize your garden while keeping your soil’s underground ecosystem thriving? No-till gardening is the gentle approach that transforms your beds without disturbing the beneficial microbes, earthworms, and fungal networks living beneath the surface. Instead of breaking up soil structure with traditional digging, this method builds healthier, more resilient growing spaces through natural processes.
As an intermediate gardener, you’ve likely noticed that constant tilling and digging can leave your soil compacted and lifeless. The no-till revolution offers a smarter path forward, working with nature instead of against it.
Why No-Till Gardening Works Better
Traditional digging disrupts the soil’s natural structure and kills beneficial organisms. Every time you turn the soil, you’re essentially demolishing an underground city of helpful microbes.
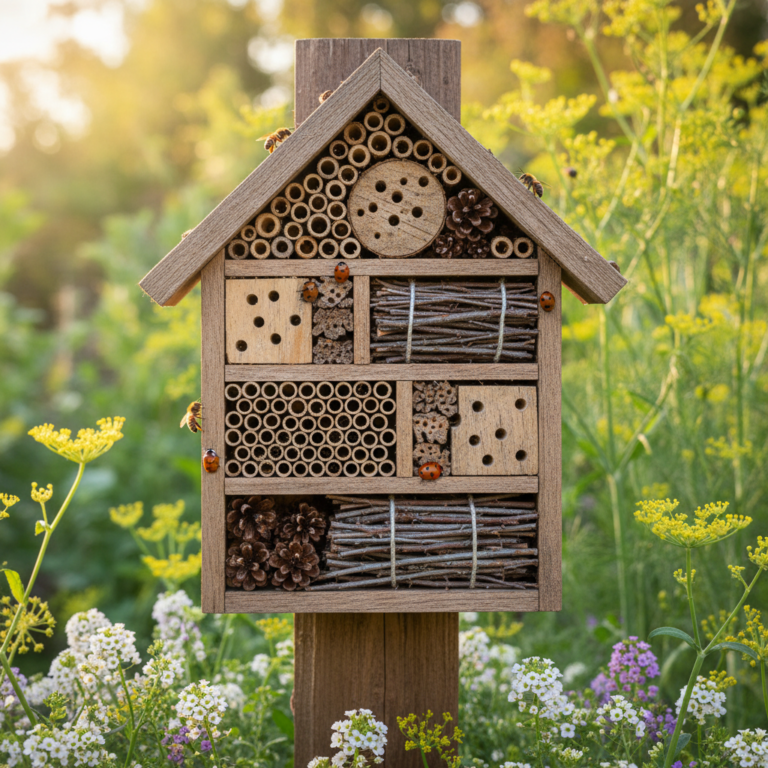
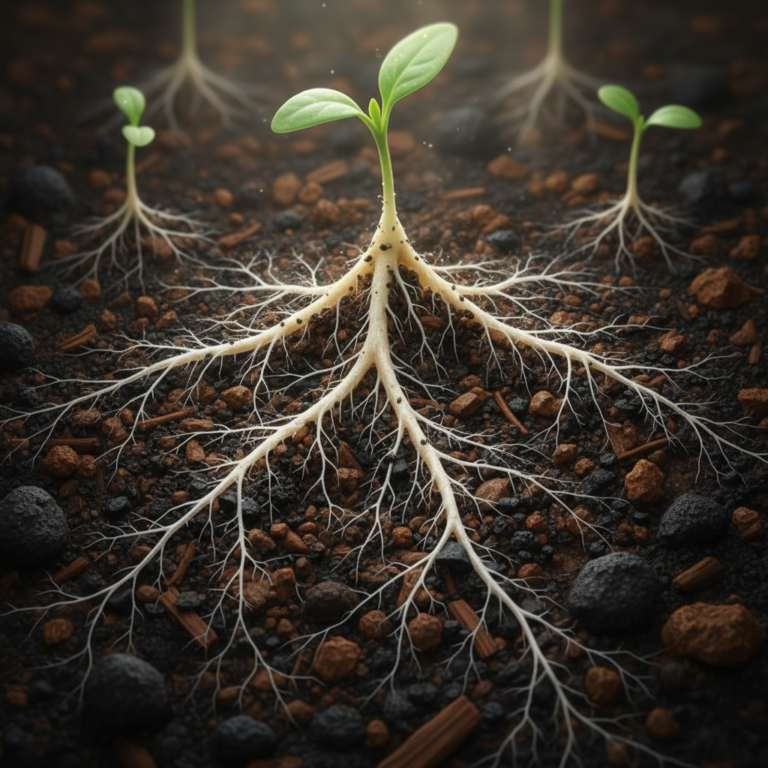
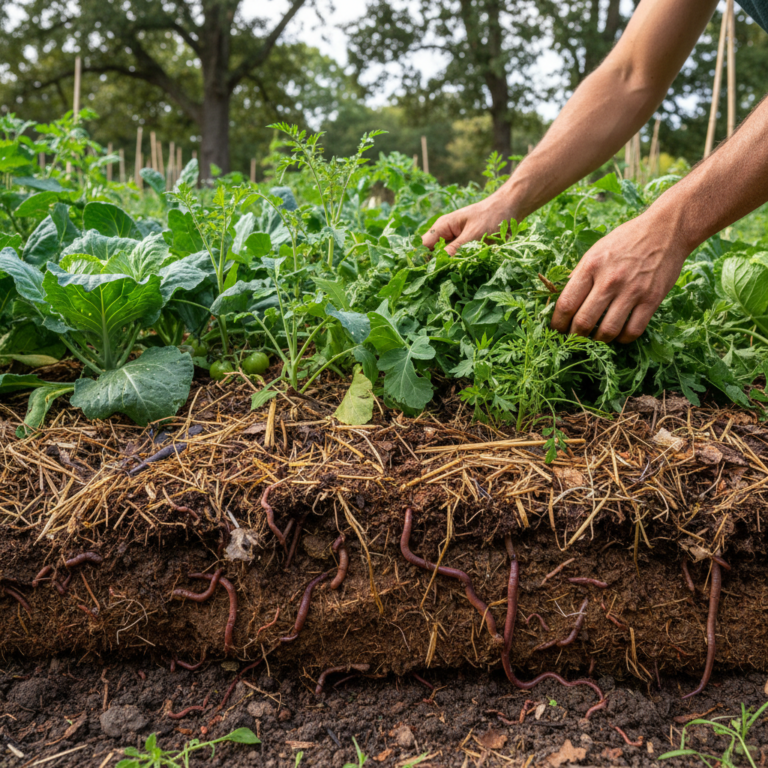
No-till gardening preserves these vital soil communities. Mycorrhizal fungi create networks that help plants share nutrients and water. Earthworms create natural drainage channels while depositing rich castings. Beneficial bacteria break down organic matter into plant-available nutrients.
Furthermore, undisturbed soil holds moisture better and requires less watering. The natural soil structure creates spaces for air and water movement, leading to stronger root systems and more resilient plants.
Sheet Mulching: Your Foundation Technique
Sheet mulching, also known as lasagna gardening, transforms any area into productive growing space without digging. This technique mimics how forests naturally build soil through layers of organic matter.
Start by mowing existing vegetation as short as possible. Don’t remove it – those grass clippings become part of your soil-building system. Next, lay cardboard directly over the area, overlapping edges by 6 inches to prevent weeds from sneaking through.
Wet the cardboard thoroughly, then begin layering organic materials. Alternate between carbon-rich materials (brown leaves, straw, paper) and nitrogen-rich materials (grass clippings, kitchen scraps, manure). Aim for a 3:1 ratio of carbon to nitrogen.
Build your layers 18-24 inches high. They’ll settle to about 6 inches over several months as decomposition works its magic. Top everything with 2-3 inches of finished compost for immediate planting.
Mastering the Broadfork for Soil Decompaction
Sometimes soil becomes too compacted for roots to penetrate, even in no-till systems. The broadfork solves this problem without mixing soil layers or destroying soil structure.
This specialized tool looks like a large fork with multiple tines spaced about 6 inches apart. Insert it straight down into the soil, then lean the handle back slightly to lift and loosen without turning the earth.
Work systematically across compacted areas, spacing your broadfork insertions about 6 inches apart. The goal isn’t to break up soil completely, but to create fissures that allow air, water, and roots to penetrate naturally.
Use your broadfork during dry conditions when soil crumbles easily. Wet soil will compact further under pressure, defeating your purpose. Most gardeners find spring and fall ideal for broadforking.
If you’re building your tool collection strategically, check out our guide on durable garden tools and smart maintenance to choose equipment that grows with your skills.
Strategic Cover Crops for Living Soil
Cover crops are the workhorses of no-till gardening. These plants protect and improve your soil while you’re not growing food crops.
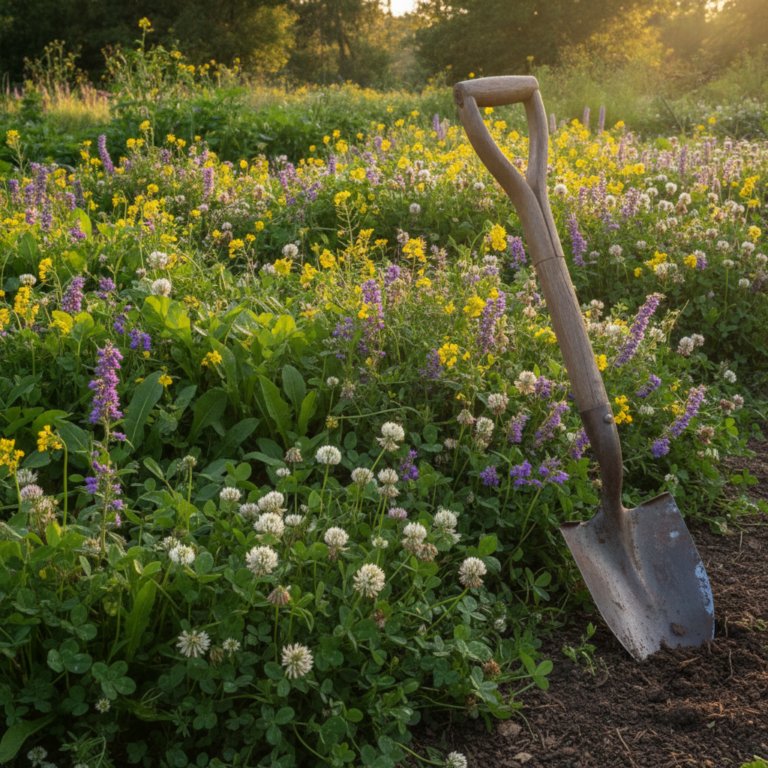
Legumes like clover, vetch, and peas fix nitrogen from the air, naturally fertilizing your soil. Deep-rooted crops like daikon radishes and sunflowers break up compaction while bringing nutrients up from lower soil layers.
Plant cover crops in unused garden areas during fall. They’ll grow through winter and early spring, then can be cut and left as mulch before planting your main crops. This “chop and drop” method feeds soil organisms while suppressing weeds.
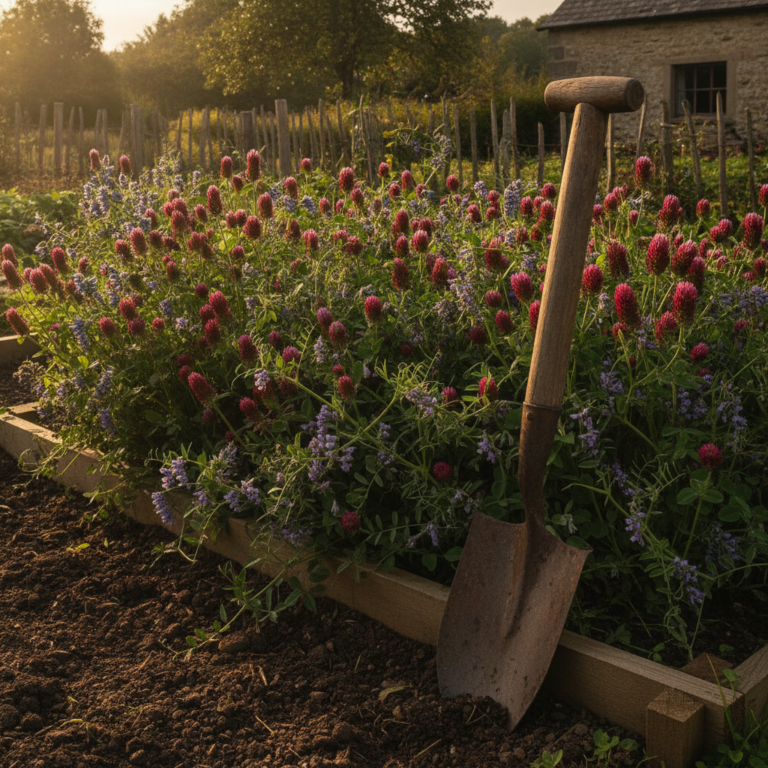
Mix different cover crop types for maximum benefit. Try combining crimson clover (nitrogen fixation), winter rye (erosion prevention), and radishes (natural tillage) for a powerful soil-building blend.
For year-round soil health strategies, explore our comprehensive approach to reading and improving your soil without expensive lab tests.
Creating Permanent Garden Pathways
No-till success depends on never walking on growing areas. Soil compaction from foot traffic undoes all your careful soil-building work.
Design permanent pathways that allow you to reach every part of your garden beds. Keep beds narrow enough to work from both sides – typically 3-4 feet wide works well for most gardeners.
Mulch pathways heavily with wood chips, straw, or gravel. These materials prevent weeds while creating comfortable walking surfaces that don’t become muddy during wet weather.
Consider raised beds or mounded rows if your site has drainage issues. These elevate your growing areas above problem spots while creating natural pathways between beds.
Transition Timeline: From Tilled to Thriving
Switching to no-till gardening doesn’t happen overnight. Plan for a gradual transition that allows your soil ecosystem to rebuild.
Year one focuses on stopping soil disturbance and building organic matter. Implement sheet mulching, establish pathways, and plant cover crops on unused areas.
By year two, you’ll notice improved soil structure and increased earthworm activity. Continue adding organic matter and expanding your no-till areas.
Year three typically brings dramatically improved water retention and plant health. Your soil will feel different – spongier and more alive.
Document your progress with regular soil observations and plant performance notes. Our garden journaling templates help track these important changes over time.
Common No-Till Challenges and Solutions
Persistent weeds can challenge new no-till gardeners. However, thick organic mulches and diverse cover crops gradually suppress most weed problems naturally.
Initial slug and snail increases often worry gardeners. These pests thrive in the moist conditions that benefit soil organisms. Use copper barriers, diatomaceous earth, or beer traps while your ecosystem balances.
Slower initial plant growth sometimes occurs as soil biology rebuilds. Patience pays off – second and third-year results typically exceed traditional methods dramatically.
Nitrogen deficiency may appear temporarily as soil organisms use available nitrogen for decomposition. Counter this with compost, well-aged manure, or organic fertilizers during the transition period.
Advanced No-Till Techniques
Once you’ve mastered basic no-till methods, try intercropping cover crops with food plants. Plant lettuce between crimson clover rows, or let beans climb through corn and winter squash.
Experiment with living mulches – low-growing plants that suppress weeds while your main crops grow above them. White clover works well around brassicas, while creeping thyme thrives beneath tomatoes.
Consider keyline design principles for sloped properties. This technique uses contour planting and strategic water management to build soil naturally across challenging terrain.
Your No-Till Success Plan
Start small with one bed or section of your garden. Success with no-till gardening builds confidence for larger transformations.
Gather materials gradually – cardboard from appliance stores, leaves from neighbors, and straw from local farms. Building relationships with these suppliers ensures steady access to soil-building materials.
Connect with other no-till gardeners in your area. Local knowledge about cover crop varieties and mulch sources proves invaluable for long-term success.
Remember that no-till gardening is a mindset shift as much as a technique change. You’re partnering with natural processes instead of fighting them. This gentler approach creates more resilient gardens that require less work over time while producing healthier plants and soil.
Ready to take your garden to the next level? The no-till revolution starts with a single bed and grows into a thriving ecosystem that works with nature’s wisdom.