Green Manure Crops: The Plow-Under Secret
Green Manure Crops: The Plow-Under Secret Your Grandparents Already Knew
Before a single bag of synthetic nitrogen was ever sold, farmers kept their fields fertile using one surprisingly simple trick: they grew green manure crops, then buried them alive. No factory. No chemistry lab. Just plants, timing, and an intimate knowledge of the soil beneath their boots. Today, this old-time practice is making a quiet comeback — and for very good reason.
If you’ve been struggling with tired, depleted soil or sky-high fertilizer bills, green manure crops might be the most powerful, cheapest thing you’ve never tried. This post breaks down exactly which plants to grow, when to cut them, and how to squeeze every drop of soil-building magic out of this forgotten technique.
What Are Green Manure Crops, Exactly?
A green manure crop is any plant grown specifically to be chopped and incorporated into the soil — not harvested, not composted in a pile, but buried in place while still green and living. The roots, stems, and leaves all decompose directly where they grew, releasing nutrients and organic matter right into the root zone of your next planting.
Think of it as making a meal for your soil using ingredients the garden grew itself. It’s a closed-loop system that farmers used for centuries before the chemical age interrupted the cycle.
Green manures are different from standard mulch cover crops. Standard covers protect the soil surface. Green manures are specifically timed and selected to feed the soil when turned under. The distinction matters when you’re choosing which seeds to buy and when to dig.
If you’re just starting to think about soil health more deeply, it helps to first understand what your soil is already telling you. Our guide Soil Sense Without the Lab: Read Your Dirt, Fix It Fast walks you through easy, hands-on diagnostics before you plant anything.
The Best Green Manure Crops for Home Gardeners
Not every plant makes a great green manure. The best choices do one or more of the following: fix atmospheric nitrogen, produce massive biomass quickly, have deep taproots that break up compaction, or decompose fast enough to fit a home garden rotation schedule.
Nitrogen-Fixing Legumes
These are the workhorses. Legumes form partnerships with soil bacteria that literally pull nitrogen from the air and store it in root nodules. When you turn them under, all that captured nitrogen becomes available to your next crop.
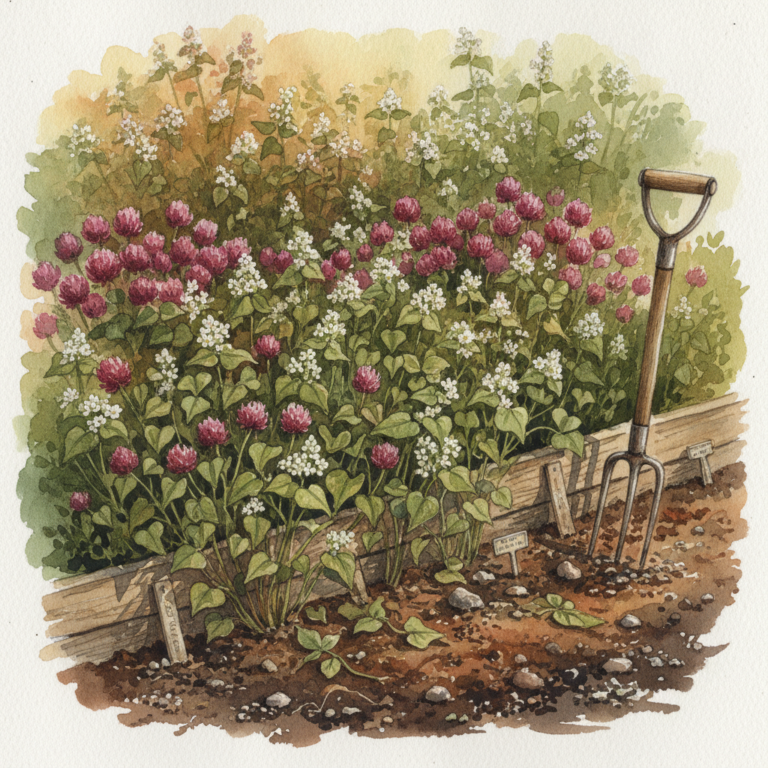
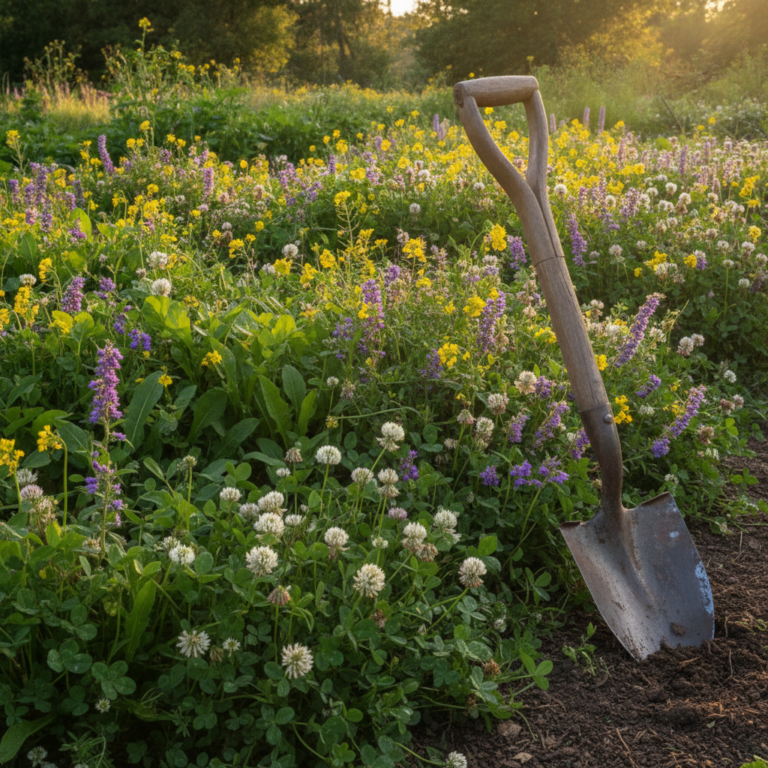
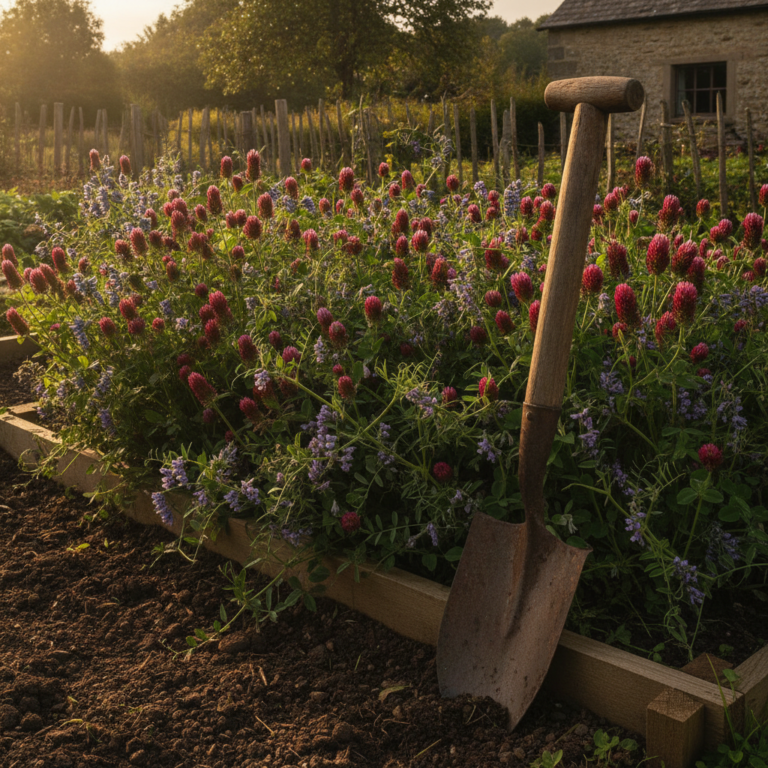
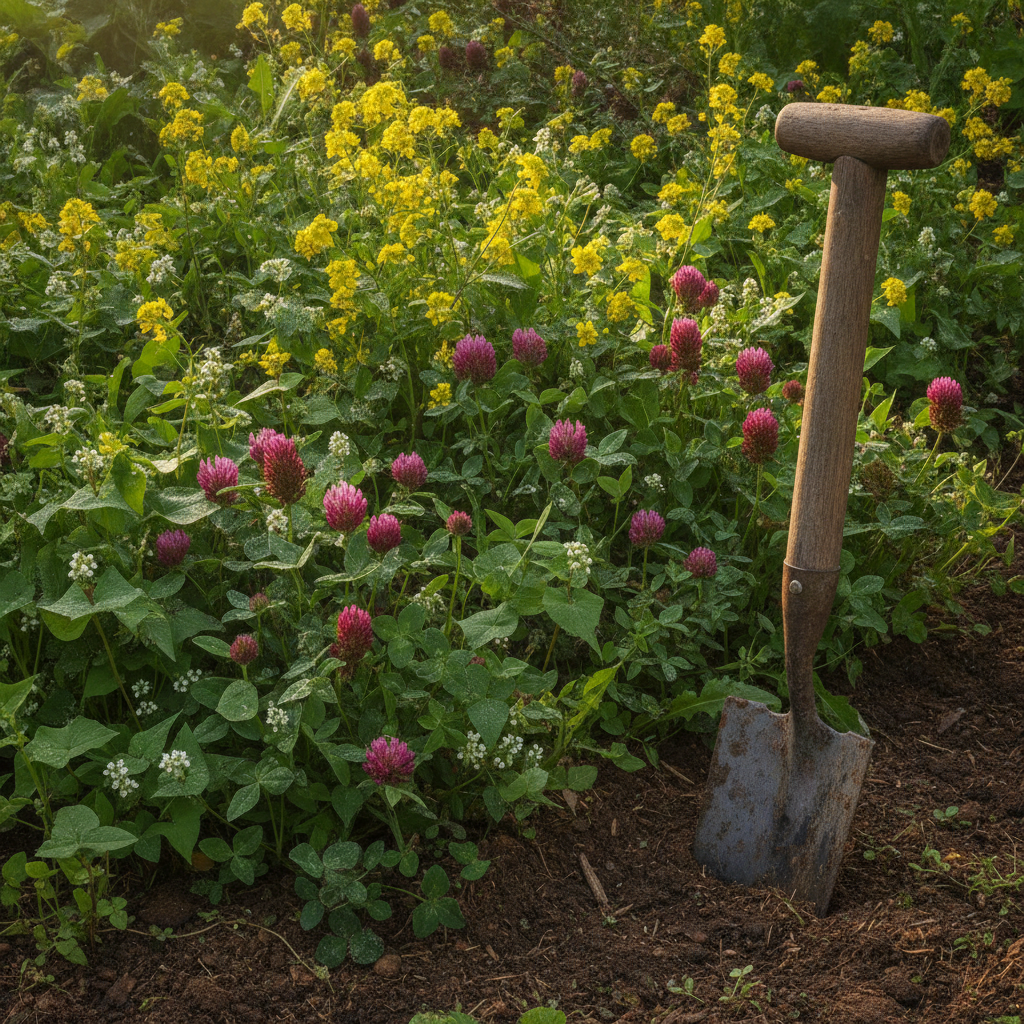
- Crimson Clover — Fast-growing, beautiful, and nitrogen-rich. Plant in spring or fall. Fixes up to 150 lbs of nitrogen per acre.
- Hairy Vetch — Cold-hardy and incredibly productive. Excellent for fall planting and spring turn-under before tomatoes or corn.
- Field Peas (Austrian Winter Peas) — Quick to establish, cold-tolerant, and easy to dig under. Great for small garden beds.
- Fava Beans — Heavy nitrogen fixers with thick stems that add serious organic matter. Thrive in cool temperatures.
Biomass Builders (Non-Legumes)
These plants don’t fix nitrogen, but they produce enormous amounts of organic matter, which feeds soil microbes, improves water retention, and builds long-term humus.
- Buckwheat — Fast and smothering. Grows to shoulder height in six weeks and decomposes quickly. Perfect for summer gaps between crops.
- Phacelia — Surprisingly popular in Europe, still underused in the US. Decomposes rapidly and attracts beneficial insects before you dig it under.
- Oats — Cold-killed by hard frost, making them a “suicide cover” that naturally dies back and is easy to turn under in spring.
- Mustard — Acts as a natural biofumigant, suppressing soilborne diseases and nematodes as it decomposes. Especially useful in rotation with brassicas.
Timing the Cut: When to Plow Under for Maximum Nitrogen Release
Timing is everything with green manure crops. Turn them under too early and you sacrifice biomass. Wait too long and the plants go to seed or become too woody to decompose quickly. The sweet spot is right at the beginning of flowering.
Here’s why: just before and during early flowering, the plant’s nitrogen content is at its absolute peak. The stems are still soft and succulent, which means they’ll break down faster in the soil. Once flowering finishes and seed set begins, carbon levels rise, the material gets tougher, and decomposition slows way down.
The rule of thumb: cut and bury when you see the first 10–20% of flowers open. For legumes, that means the moment those first purple or pink blooms appear. Don’t wait for a full flower show.
After turning under, wait 2–4 weeks before planting your next crop. This rest period allows the decomposing material to stop pulling nitrogen temporarily from the soil — a process called nitrogen immobilization — and start releasing it. Trying to plant too soon can actually stress your seedlings.
How to Incorporate Green Manures in a Small Garden
You don’t need a tractor or a plow. In a home garden setting, a sharp spade, a broadfork, or even a hoe is all it takes. Here’s a simple method that works well for beds up to about 100 square feet.
- Chop first. Use a sharp hoe or garden shears to cut the plants down to a few inches above the soil. This makes burial much easier.
- Water the bed. Moist soil speeds decomposition dramatically.
- Dig or fork under. Turn the chopped material into the top 6–8 inches of soil. No need to go deeper — that’s where the microbial action happens.
- Cover with a thin layer of soil. Any exposed green material will dry out and decompose more slowly.
- Wait and water. Keep the bed moist for 2–4 weeks while everything breaks down.
If your garden beds are on the smaller side or you’re working in containers, consider chopping the green manure material finely and layering it as a top-dress rather than digging under. It won’t release nitrogen as quickly, but it still adds valuable organic matter over time.
For those managing tighter growing spaces creatively, the strategies in Microclimate Makeovers: Simple Tweaks That Boost Yields Without Expanding Your Space pair well with a green manure rotation.
A Practical Green Manure Planting Calendar
Here’s a simple seasonal framework to get you started. Adjust planting windows by 2–4 weeks depending on your climate zone.
Spring (March–May)
- Sow field peas or fava beans in empty beds as soon as the soil can be worked.
- Turn under 6–8 weeks later, just before transplanting tomatoes, peppers, or squash.
- Sow buckwheat in any bed that won’t be planted until midsummer.
Summer (June–August)
- After harvesting early crops (garlic, spring peas, lettuce), sow buckwheat immediately.
- Buckwheat reaches turn-under stage in just 5–6 weeks. Dig under and replant with fall crops.
- In hot climates, phacelia works beautifully as a summer green manure between rotation cycles.
Fall (September–November)
- After summer crops finish, sow hairy vetch, crimson clover, or winter oats.
- These overwintering crops establish before frost and resume growth in early spring.
- Turn under in April or early May at first flowering, then plant your main summer garden.
Winter (December–February)
- Plan next year’s rotation. Note which beds hosted heavy feeders like corn or tomatoes — these are your priority green manure candidates.
- Order seeds now. Hairy vetch, crimson clover, and field peas sell out early at many suppliers.
Planning your rotations around your garden’s natural microclimates can make a real difference in how quickly your green manures establish. Take a look at Mapping Your Garden Microclimates: Turn Sun, Wind, and Shade into Higher Yields to understand which spots in your garden warm up fastest in spring — ideal for early-season green manure establishment.
Why Green Manures Outperform Most Bagged Fertilizers
A bag of 10-10-10 fertilizer delivers a fast hit of nutrients in a form plants can absorb quickly. But it does almost nothing for long-term soil structure, biology, or water-holding capacity. In fact, heavy synthetic nitrogen use has been shown to reduce the populations of beneficial soil fungi and bacteria over time — the very organisms that make soil alive and productive.
Green manure crops work differently. They feed the whole soil food web. The decomposing plant material feeds bacteria and fungi, which in turn feed nematodes and protozoa, which cycle nutrients into forms plant roots can access steadily over weeks and months. It’s a system, not just a supplement.
Over 3–5 years of consistent green manure use, gardeners typically see measurable improvements in soil tilth, drainage, moisture retention, and earthworm populations. These aren’t things you can buy in a bag.
This principle fits perfectly within a broader philosophy of low-input gardening. If you’re building a garden that works with natural systems rather than against them, The Perennial Playbook: Build a Low-Input Garden That Keeps Flourishing With You is worth reading alongside this one.
Start Small, Build the Habit
You don’t need to overhaul your entire garden to try green manures this season. Pick one empty bed — maybe the spot where your garlic just came out, or a patch that’s been sitting bare since spring cleanup. Scratch in some buckwheat or clover seed, water it, and watch what happens. Six weeks later, you’ll dig under more fertility than any bag on the shelf could deliver.
That’s the beauty of this buried wisdom. It doesn’t cost much. It doesn’t take much time. It just requires paying attention to the rhythm of the garden — planting, growing, returning, resting, and planting again. Your grandparents knew it. The soil never forgot. Now it’s your turn.