Charcoal Dust Method: Pre-Industrial Carbon Filtering
Before synthetic fungicides lined garden center shelves, old-time growers had a quiet secret tucked into their seed-starting routines. They called it the charcoal dust method — a simple, almost forgotten technique of mixing fine charcoal powder into potting soil and sprinkling it around young transplants. The goal? To harness natural carbon filtering and stop damping-off disease and root rot before they ever took hold. No chemistry degree required. No expensive bottles. Just ancient knowledge and a handful of black dust.
This technique predates biochar by centuries. And if you’ve ever lost a whole tray of seedlings to that mysterious collapse where stems thin out at soil level and plants just topple over — you know exactly why it matters.
What Is the Charcoal Dust Method, Exactly?
The charcoal dust method involves working finely ground wood charcoal — not commercial activated charcoal, not briquettes — into your seed-starting mix or transplant holes. The charcoal acts as a natural carbon filter within the soil itself.
This works through a few mechanisms that pre-industrial farmers understood intuitively, even if they couldn’t name them scientifically:
- Adsorption: Charcoal’s porous surface traps fungal spores, excess moisture, and volatile compounds that disease pathogens thrive on.
- pH buffering: Fine charcoal gently raises soil pH, making it less hospitable to the acidic conditions that damping-off fungi love.
- Drainage improvement: Charcoal dust opens up compacted seed-starting mixes, reducing the waterlogged conditions that invite root rot.
- Microbial support: The porous carbon structure creates tiny habitats where beneficial bacteria outcompete harmful pathogens.
Essentially, you’re creating a natural carbon filtering layer right at the root zone — exactly where it’s needed most.
Why Damping-Off Destroys Seedlings (And Why This Works)
Damping-off is every seed-starter’s nightmare. One day you have a tray of healthy seedlings. The next, half of them are lying flat, stems pinched thin like little wire twists just above the soil line.
The culprits are soil-borne fungi: Pythium, Fusarium, and Rhizoctonia species. They flourish in three conditions: excess moisture, poor airflow, and nutrient-rich growing media. Standard commercial seed-starting mixes, while convenient, are actually prime real estate for these pathogens.
The charcoal dust method attacks all three of those conditions at once. It improves drainage, creates a subtly hostile environment for fungal spores, and introduces carbon-based structure that shifts the microbial balance toward health.
Old gardeners didn’t frame it that way, of course. They just said charcoal “sweetened” the soil. They weren’t wrong.
If you’re still figuring out what’s actually happening in your soil before you start adding amendments, this guide on reading your dirt and fixing it fast is worth bookmarking before your next planting session.
How to Make and Source Your Charcoal Dust
Here’s where it gets practical. You have a few good options.
Option 1: Make Your Own
Burn untreated hardwood — oak, hickory, fruitwood — in a contained fire until you have good charcoal. Allow it to cool completely. Then crush it into fine dust using a hammer, mortar and pestle, or by putting chunks in a cloth sack and breaking them with a mallet. You’re aiming for a talc-like powder or at minimum a coarse sand texture.
Never use charcoal from treated lumber, painted wood, or commercial briquettes. Those contain additives and accelerants that are genuinely toxic to plants and soil life.
Option 2: Source Biochar or Horticultural Charcoal
If making your own isn’t practical, horticultural charcoal sold for orchid mixes works well. Some garden centers carry it in small bags. The particle size is usually a bit coarse, so running it through a fine sieve or giving it a brief turn in a blender helps you get a true dust-level consistency for seed starting.
True biochar — the kind that’s been charged with compost tea or liquid fertilizer first — is even better, but you don’t need to start there. Plain hardwood charcoal dust is enough to see real results.
The Charcoal Dust Method Step by Step
Ready to try it? Here’s a simple, repeatable protocol.
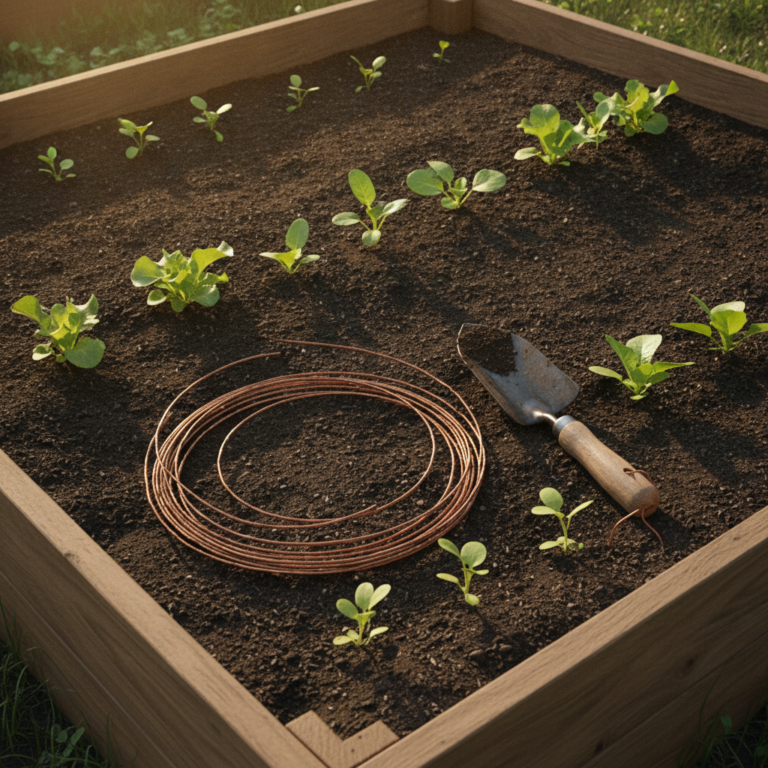
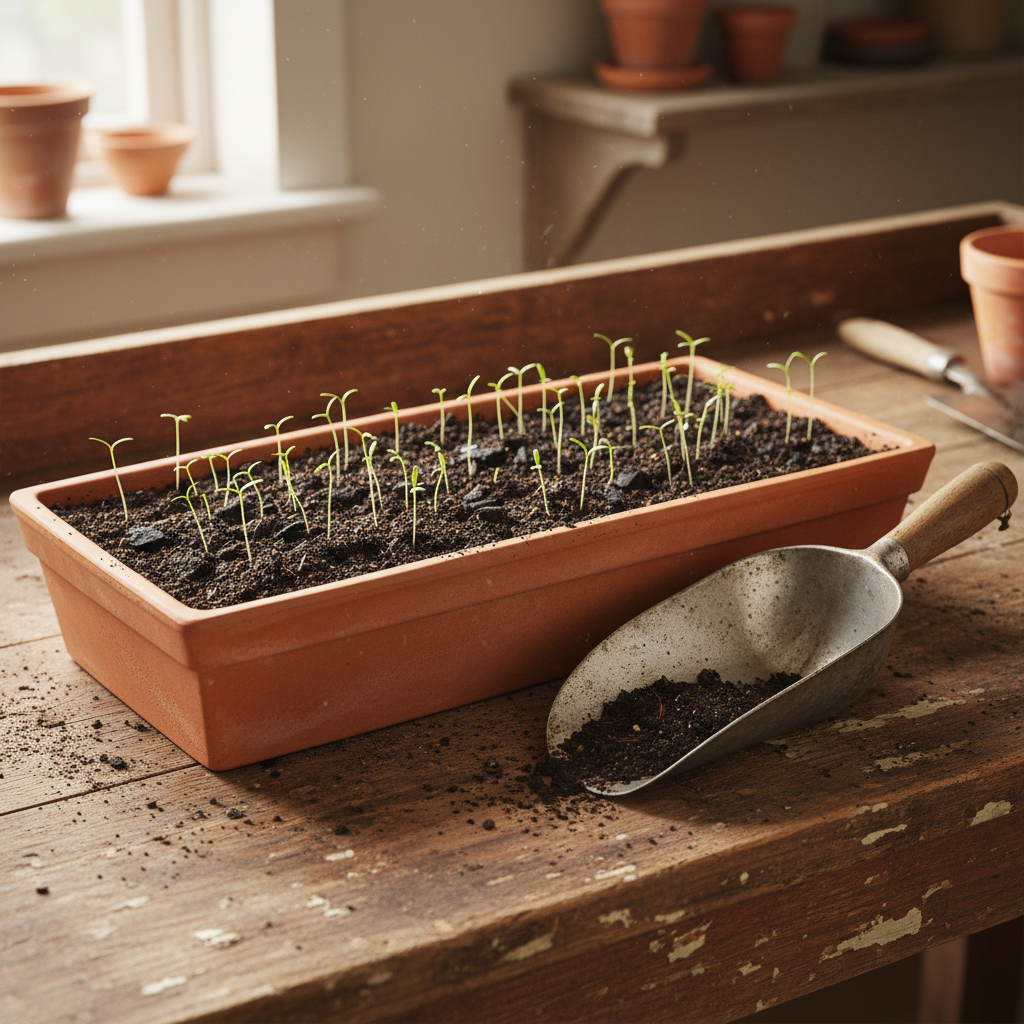
For Seed Starting Trays
- Prepare your usual seed-starting mix.
- Add charcoal dust at a ratio of roughly 1 part charcoal to 10 parts mix by volume.
- Mix thoroughly until the charcoal is evenly distributed. Your mix will look slightly darker.
- Fill trays, sow seeds at normal depth, and water gently from below when possible.
- As seedlings emerge, dust the soil surface lightly with additional charcoal powder. This discourages surface mold and fungal colonies that form at the crucial stem-to-soil junction.
For Transplanting Outdoors
- Dig your transplant hole to the correct depth.
- Sprinkle a small handful of charcoal dust into the bottom and sides of the hole.
- Set your transplant, backfill with amended soil, and firm gently.
- Dust a thin ring of charcoal around the base of the stem where it meets the soil surface.
This is especially helpful for brassicas, tomatoes, peppers, and basil — all of which are prone to collar rot and soil-borne fungal issues during transplant stress.
If you’re building new garden skills and want to know how to sequence techniques like this into your growing year, the 8-week garden skill ladder gives you a smart, progressive framework to follow.
What Pre-Industrial Gardeners Actually Knew
The charcoal dust method wasn’t accidental folklore. Historical gardening manuals from 18th and 19th century England, Germany, and colonial America mention charcoal routinely as a soil conditioner and disease preventative. Kitchen gardens attached to estates often had permanent charcoal pits for producing amendment material.
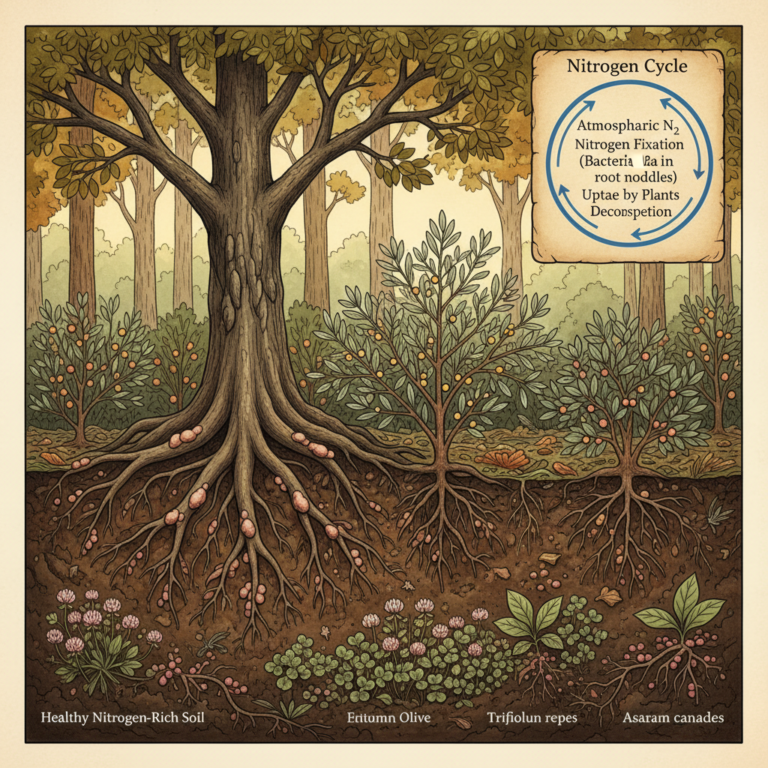
Japanese farmers have used a form of this practice for over 2,000 years. The concept of sumi (charcoal) in soil goes back to ancient agricultural traditions across Asia and South America — most famously in the terra preta soils of the Amazon, where indigenous peoples created incredibly fertile, self-sustaining garden plots using charcoal and organic matter together.
What we now call biochar is, at its core, the same ancient observation dressed in modern scientific language. Carbon creates structure. Structure creates drainage. Drainage prevents rot. Porous surfaces harbor beneficial microbes. The old gardeners just said it with fewer syllables.
Combining Charcoal Dust With Other Old-Time Methods
The charcoal dust method works even better when layered with other forgotten techniques.
- Compost tea drench: After adding charcoal dust to your soil, water seedlings with a light compost tea. The charcoal quickly becomes colonized by beneficial microbes from the tea, creating a living carbon filter rather than just a passive one.
- Wood ash dusting: A thin surface dusting of wood ash alongside charcoal dust creates an alkaline, anti-fungal barrier at soil level. This was a common combination in old cottage gardens.
- Sand-based mixes: Many traditional seed-starting formulas used a high proportion of clean, coarse sand. Combined with charcoal dust, you get exceptional drainage and anti-fungal properties without any purchased amendments.
When you’re ready to experiment with techniques like these in a structured, low-risk way, the post on safe, small-scale garden trials shows you how to test methods like this without gambling your whole garden on an unknown.
A Note on Quality Seeds and Healthy Starts
The charcoal dust method can prevent disease, but it works best when you start with strong seeds. Weak, old, or low-germination seeds stress easily and become more vulnerable to pathogens even in excellent soil conditions. Sourcing high-quality organic and heirloom seeds designed for healthy germination is the other half of the damping-off prevention equation.
Good seed + good soil = very little disease pressure. That’s a principle every pre-industrial gardener understood.
Common Mistakes to Avoid
A few things will undermine this technique if you’re not careful:
- Using too much charcoal: More isn’t better. Above 15-20% by volume, charcoal begins to interfere with moisture retention and nutrient availability. Stick to the 1:10 ratio as a starting point.
- Using the wrong charcoal: Repeat: no briquettes, no treated wood, no lighter fluid. Hardwood only.
- Skipping the surface dusting: Most damping-off fungi attack at the soil surface. Don’t just mix charcoal into the base of your tray and forget the top layer.
- Overwatering anyway: Charcoal improves drainage, but it doesn’t compensate for chronically wet conditions. Water less, water from below, and let the surface dry between waterings.
Try It This Season
The charcoal dust method costs almost nothing if you make your own. It takes ten minutes to mix into your next batch of seed-starting soil. And it draws on centuries of real-world observation from gardeners who had no fallback option — no fungicide spray, no synthetic amendment, no replacement seedlings on order from a catalog.
They had to get it right the first time. And they did. That’s worth paying attention to.
If you want to keep building this kind of layered, soil-first knowledge, exploring how to diagnose and improve your soil without a laboratory is a natural next step. The old methods and the new understanding of soil science reinforce each other beautifully when you put them side by side.
Your grandparents’ garden wasn’t just nostalgia. It was a working system. And it’s still working — waiting for you to dig back in.