Green Manure Crops: The Plow-Under Secret
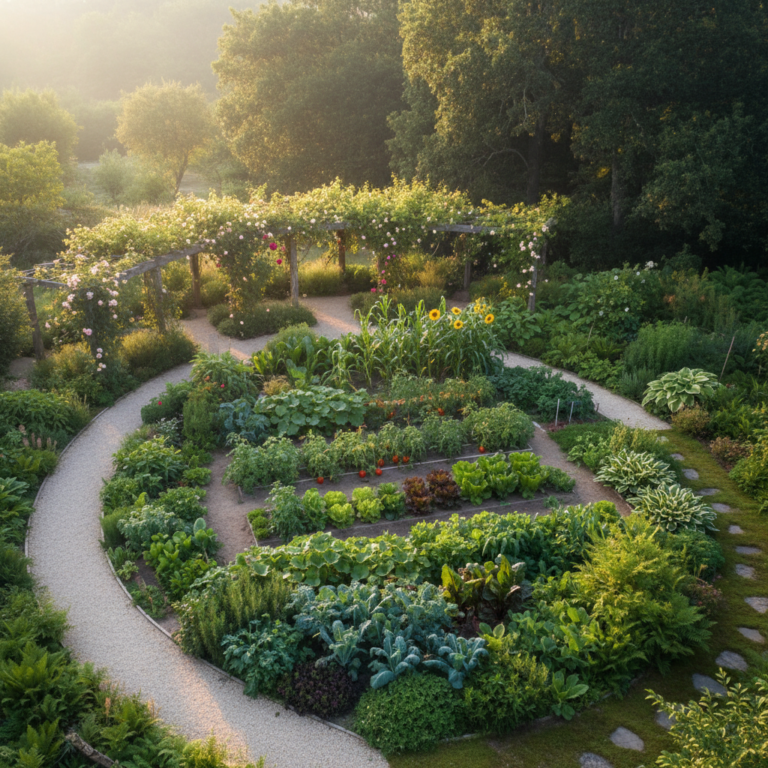
Long before a bag of synthetic fertilizer ever sat on a store shelf, farmers knew a quiet secret: green manure crops could feed the soil better than almost anything else. They grew specific plants — not to harvest, but to bury. Chop them down at just the right moment, turn them under, and the soil would reward you with a season of remarkable growth. It sounds almost too simple. But this old plow-under technique is one of the most powerful, forgotten tools in the organic gardener’s kit — and it’s ready to work in your garden right now.
What Are Green Manure Crops, Exactly?
Green manure crops are plants grown specifically to be cut and incorporated back into the soil while they’re still green and full of nutrients. They are not composted first. They are not dried out. You grow them, you chop them, and you dig or till them in — letting the soil do the rest.
The term “green manure” is a bit of old-fashioned farm language. But the science behind it is solid. When you bury fresh plant matter, soil microbes get to work breaking it down rapidly. This releases nitrogen, carbon, and a host of trace minerals directly into the root zone of your next crop.
Think of it as feeding the soil a fresh, living meal rather than a processed supplement. The difference in biological activity is enormous.
This approach also improves soil structure. The organic matter from decomposing plants opens up compacted clay, helps sandy soils retain water, and encourages earthworm activity. No bagged amendment does all of that at once.
The Best Green Manure Crops for Home Gardens
Not all cover crops work equally well as green manures. The best ones are fast-growing, nitrogen-rich, and easy to chop and bury. Here are the top performers.
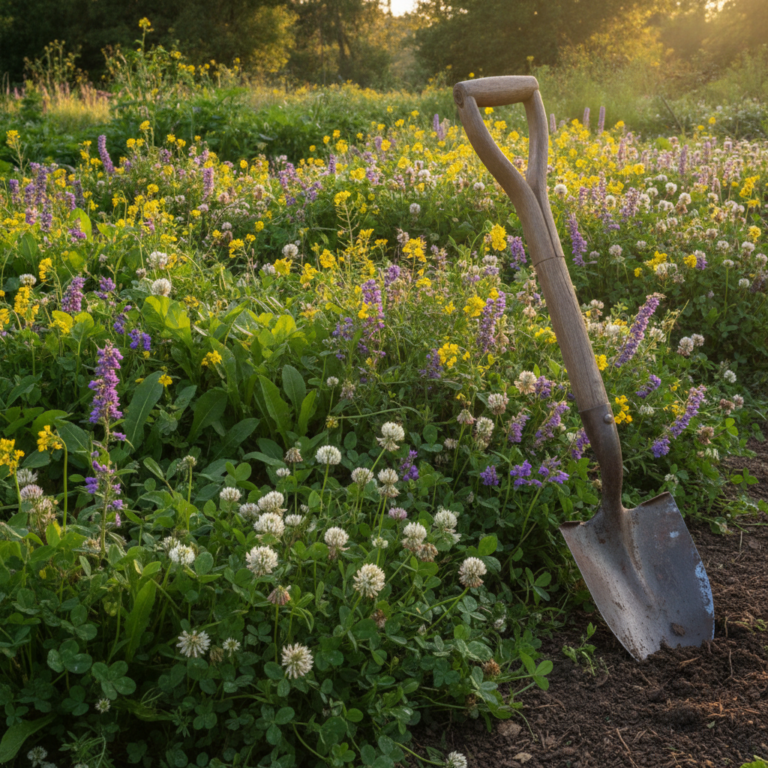
Legumes: The Nitrogen Fixers
Legumes are the superstars of green manure. They host bacteria in their roots that pull nitrogen directly from the air and fix it into the soil. When you bury the plant, all that stored nitrogen becomes available to your next crop.
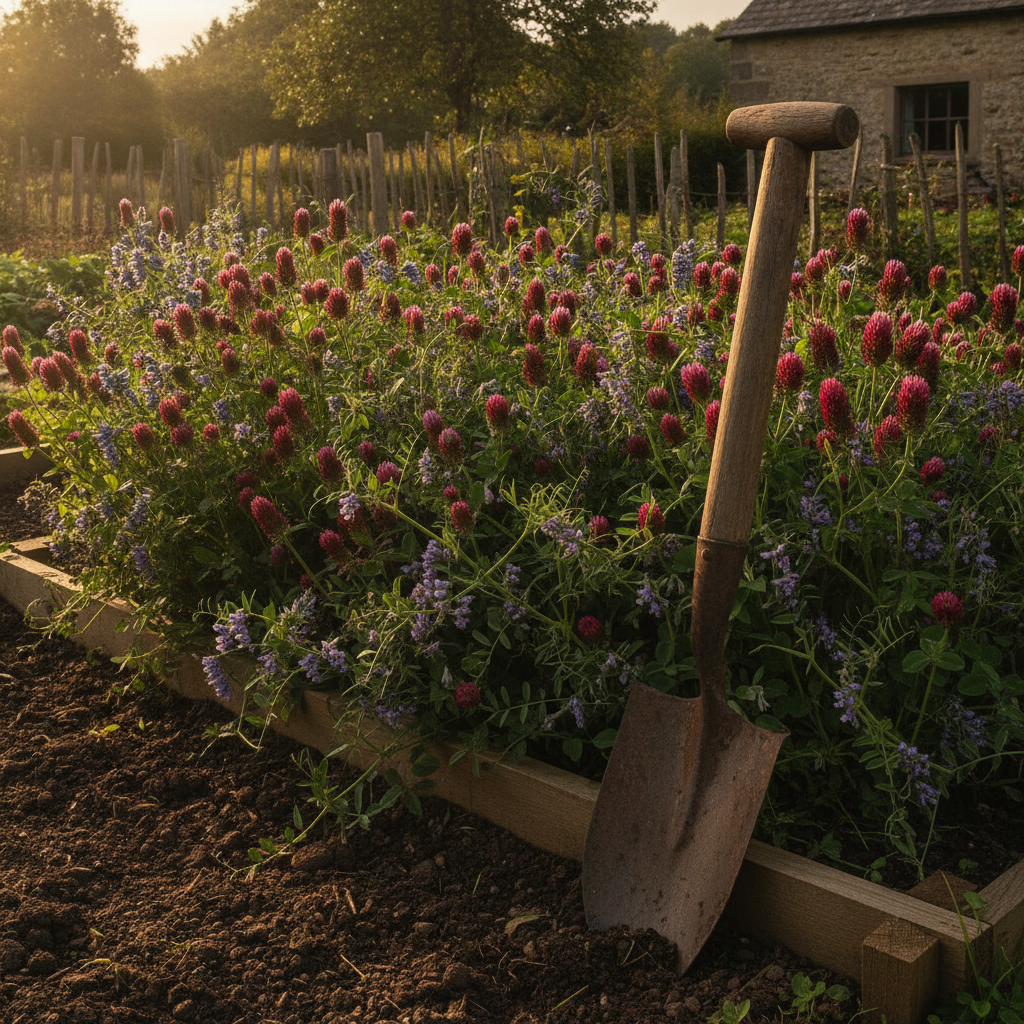
- Crimson clover — Fast-growing, beautiful, and incredibly nitrogen-rich. Perfect for spring or fall planting.
- Field peas — Hardy in cool weather. Excellent nitrogen fixers and easy to find as seed.
- Hairy vetch — One of the highest nitrogen yields of any cover crop. A bit aggressive, but powerful.
- Fava beans — Excellent for cool seasons and larger garden beds. Very high biomass.
Brassicas and Grasses: The Biomass Builders
These plants may not fix nitrogen, but they produce massive amounts of organic matter and break disease cycles in the soil.
- Mustard — Acts as a natural biofumigant, suppressing soil pathogens and nematodes. A smart rotation crop.
- Buckwheat — Grows in just 6 weeks. Smothers weeds, attracts pollinators, and releases phosphorus when decomposed.
- Winter rye — Incredible root system for breaking up compaction. Best for fall planting.
- Phacelia — Fast and beautiful. Excellent biomass and loved by bees before you cut it down.
If you’re still learning how to read your soil’s current condition before choosing a crop, take a look at Soil Sense Without the Lab: Read Your Dirt, Fix It Fast. Knowing what your soil needs helps you pick the right green manure every time.
Timing the Cut: The Plow-Under Secret Revealed
Here is where most beginners go wrong. They either cut too early, before much biomass has developed, or too late, when the plant has gone woody and tough. Both reduce the benefit significantly.
The golden rule: cut and bury green manure crops just before they flower, or right at first bloom. At this stage, the plants are:
- At peak nitrogen content
- Still soft and easy for soil microbes to break down
- Not yet setting seed (which would create a weed problem)
Use a sharp spade or hoe to chop the plants down to the soil surface. Then dig them in to a depth of 6 to 8 inches. Alternatively, use a broadfork to open the soil and layer the chopped material in. Cover with a thin layer of native soil.
Then wait. Most green manures need 2 to 4 weeks to decompose before you plant your next crop into that bed. During this window, you can prepare other beds, start seeds indoors, or tend to established plantings.
Timing your planting calendar across beds makes this rotation method feel seamless. If you’re working out how to sequence tasks across your whole growing space, the guide at Climate-Proof Your Crops: A 30-Day, Microclimate–Aware Planting Plan pairs beautifully with this technique.
Why Green Manure Outperforms Store-Bought Soil Conditioners
Bagged amendments have their place. But green manure crops deliver something packaged products simply cannot: living biology.
When you bury fresh plant matter, you’re feeding billions of soil microorganisms simultaneously. This biological explosion creates humus, improves drainage, chelates minerals, and builds the long-term soil food web. Granular fertilizers, by contrast, often bypass the soil web entirely — feeding the plant directly while the biology beneath goes hungry.
Studies comparing green manure rotations to conventional nitrogen applications consistently show that green manure beds retain fertility longer, suffer fewer pest problems, and produce crops with better flavor and disease resistance. Your grandparents didn’t need a study to tell them. They could see it in the harvest.
Furthermore, green manures are essentially free after the initial seed cost. One small packet of crimson clover can cover a 20-square-foot bed. Compare that to the ongoing cost of bagged compost, blood meal, or synthetic nitrogen.
A Practical Green Manure Planting Calendar
Here’s a seasonal framework you can adapt to your climate zone. Use this as your starting point this season.
Spring (March–May)
- Sow field peas or crimson clover as soon as soil can be worked
- Cut and bury 6–8 weeks later, just before bloom
- Wait 2–3 weeks, then plant summer crops like tomatoes, squash, or beans
Summer (June–August)
- Sow buckwheat in any gap bed or after an early harvest clears out
- Buckwheat is ready to cut in just 5–6 weeks
- Follow with a fall brassica planting or a second bean crop
Fall (September–November)
- Sow hairy vetch, winter rye, or fava beans after summer crops finish
- Allow to overwinter; cut and bury in early spring
- This is the most powerful rotation for building soil over the dormant season
Winter (December–February)
- Plan next year’s rotation on paper
- Order seeds early — clover and vetch sell out fast
- Consider which beds need the most nitrogen and schedule accordingly
If you’re just starting out and want a structured approach to building these skills step by step, Smart Starts: A 4-Week Skill-Build Plan for Complete Garden Beginners gives you a solid foundation before layering in techniques like this one.
Common Mistakes to Avoid
A few missteps can reduce your results significantly. Watch out for these:
- Burying too deeply. Most microbial activity happens in the top 6–8 inches. Deeper doesn’t mean better.
- Planting too soon after burial. Give decomposition at least 2 full weeks, especially in cold weather when breakdown is slower.
- Letting plants go to seed. Cut before full bloom. Seeded plants can become weed problems the following season.
- Skipping the chop. The finer the material, the faster it breaks down. Don’t just fold whole plants under — chop first.
Start Small, Learn Big
You don’t need to overhaul your whole garden to try this. Start with one bed this season. Sow a packet of crimson clover or buckwheat. Watch it grow. Cut it at first bloom. Bury it. Then plant into that bed a few weeks later and compare it to your other beds.
The difference is often visible by midsummer. Darker soil. More earthworms. Plants that look like they’ve been quietly thriving on their own.
That’s the plow-under secret in action. It worked for generations of farmers who had no synthetic inputs, no soil testing labs, and no bagged amendments. They had patience, observation, and a deep respect for what the soil could do when given the right ingredients.
Now you have that same knowledge. Use it this season, and your soil will thank you for years to come.