Mulch Mastery for Every Skill Level: Practical, Soil-First Tips for Beginners to Pros
Spring Mulch Mastery: Why soil-first mulching matters for a productive season
Embrace a soil-first approach to mulching this spring to build a living foundation for roots, moisture, and weed control. Healthy soil supports bigger yields, stronger plants, and a more resilient garden. This post guides beginners to pros with a practical 6‑week plan, bed‑type tips, and maintenance cues that keep soil thriving through March, April, and May.
A 6-Week Spring Mulch Plan (March–May) to Build Healthy Soil
Follow this simple calendar to time soil assessment, mulch choice, bed preparation, and re‑mulching. Each step builds soil health while protecting roots and conserving moisture.
Step 1 — Conduct a soil health check and adjust moisture
Start by assessing soil moisture, structure, and drainage. Check a depth of 4–6 inches: the soil should feel like a wrung-out sponge, not soggy or dusty. If it’s too wet, delay mulching and improve drainage; if it’s too dry, water deeply before applying mulch. Note soil texture and organic matter level so you can tailor mulch choices later.
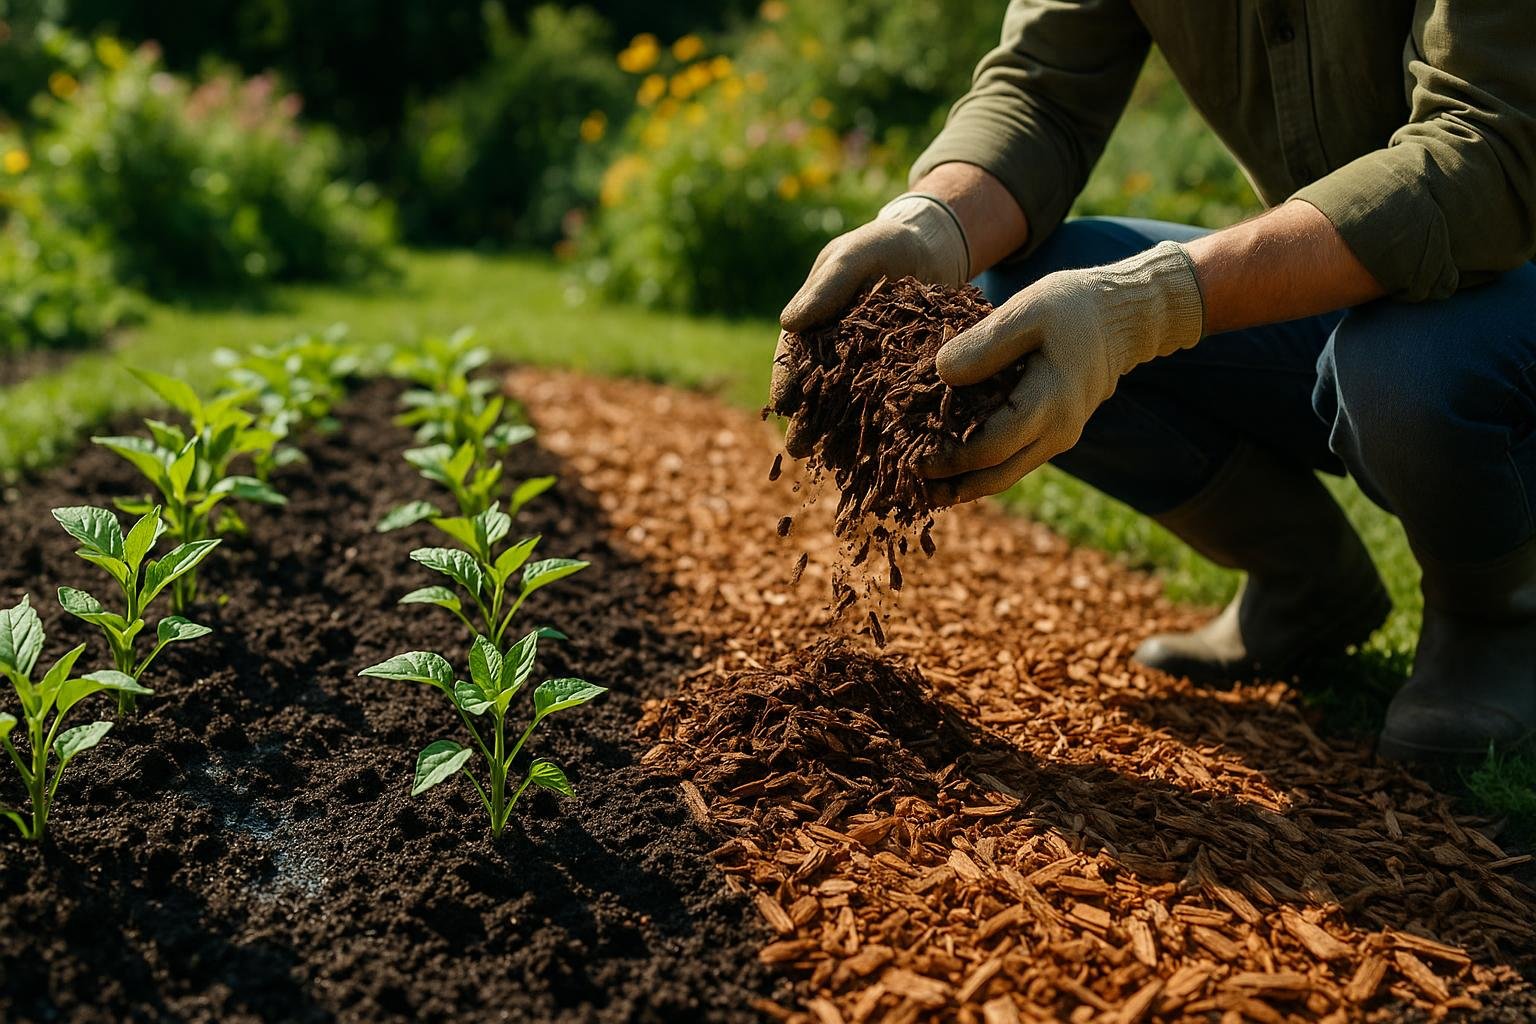
Step 2 — Pick mulch types for spring and recommended depths
Choose mulch that matches your goals. Organic options (compost, shredded leaves, straw, wood chips) enrich soil life and gradually release nutrients. Inorganic options (stone, decorative gravel) last longer but don’t add fertility. For spring, aim for a 2–3 inch layer in most beds; containers may require 1–2 inches to avoid restricting water and airflow. Keep mulch at least 2 inches away from crowns or stems to prevent rot. If using fresh wood chips, consider aging them or mixing with compost to minimize nitrogen immobilization and soil disruption.
Step 3 — Prep beds and properly apply mulch to avoid crown rot
Prepare beds by clearing weeds and debris, then rake to a smooth, level surface. Apply mulch evenly to the recommended depth and maintain a clear margin around plant bases. Water after mulching to help mulch settle and to avoid air pockets. A gradual, even layer reduces compaction and keeps mulch in place during spring winds and rain.
Step 4 — Scheduling mulch maintenance and re-mulching cues
Mulching is not a “set it and forget it” task. Inspect mulch thickness after heavy rains or storms and re‑mulch when the layer falls to about 1.5–2 inches. Organic mulches decompose over the season; plan to refresh as needed to sustain soil life and moisture retention. For high‑traffic beds, touch up margins to maintain a consistent protective layer.
Mulch Techniques by Bed Type: Raised beds, in-ground, and containers
Different bed types have distinct needs. Here’s how to apply mulch to maximize moisture retention, weed suppression, and healthy roots in raised beds, in-ground plots, and containers.
Recommendations for depth and coverage in each bed type
- Raised beds: 2–3 inches of mulch, with a 2–3 inch clearance from stems and crowns to prevent rot and ensure good drainage.
- In-ground beds: 2–3 inches, keeping mulch a short distance from stems and creating a soft edge that directs water to the root zone.
- Container plantings: 1–2 inches, ensuring drainage holes stay open and not overwhelmed by mulch.
Common Spring Mulching Pitfalls and Fixes
- Piling mulch against stems or trunks — create a 2‑inch clear zone around plants to prevent rot and improve air flow.
- Mulching too thick near crowns — pull back excess mulch until you have a 1–2 inch layer around crowns or stems.
- Fresh wood chips and nitrogen immobilization — use aged chips or composted mulch, or mix with compost before applying.
- Weed seeds in straw or hay — use clean straw or shredded leaves and avoid seed‑laden materials.
- Overwatering after mulching — mulch conserves moisture but still needs irrigation; monitor soil moisture and water as needed.
- Letting mulch decompose completely without replacement — re‑mulch when the depth drops below about 1.5–2 inches to maintain benefits.